When I was growing up, there wasn’t a single household that didn’t have a copy of Mario Kart lying around. I might be dating myself a bit, but I remember playing the game on my cousin’s new Nintendo 64 (oh, the ’90s) and loving every second of it. It’s no surprise that even today, the characters and game are just as popular as they were back then.
Redditor and Nintendo enthusiast troymcklure is back at it again with another awesome Mario-inspired DIY project. You might remember him building his son the coolest kid’s room ever by turning his nursery into a Mario Kart paradise. This time around, he’s created a Mario-themed bookcase for his kiddo to store all of his literary favorites.
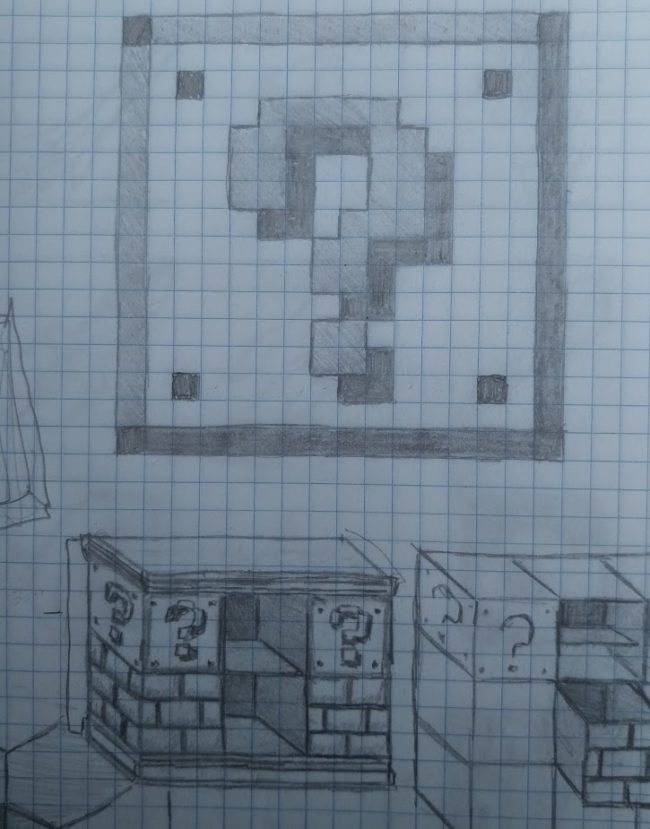
Like any good do-it-yourselfer, troymcklure began with a rough sketch.
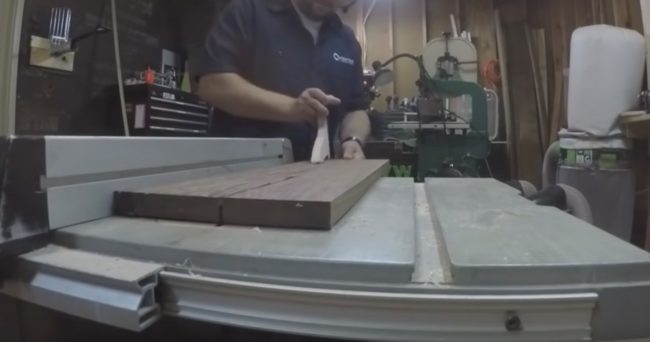
He needed to cut the walnut wood down to size.
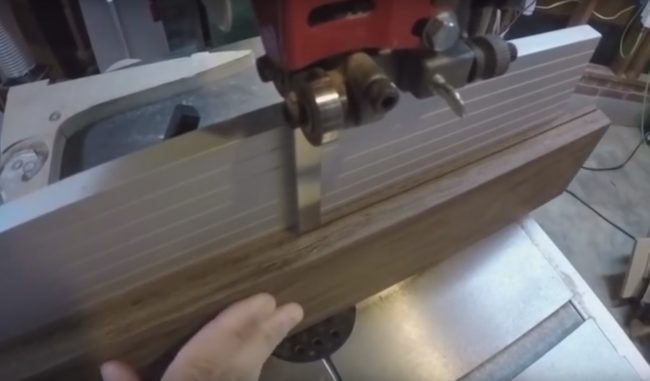
It was his first time using a bandsaw, but he made it work!
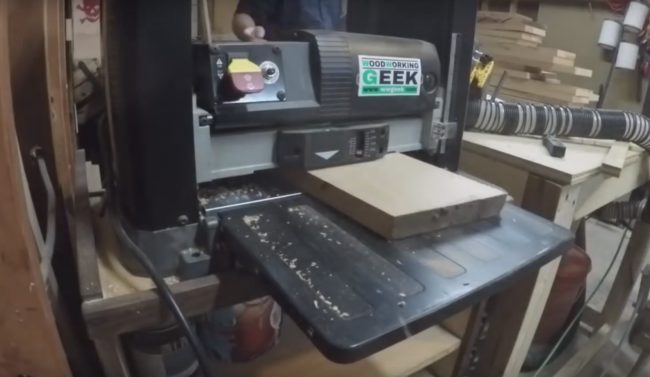
After everything was cut, he planed each board.
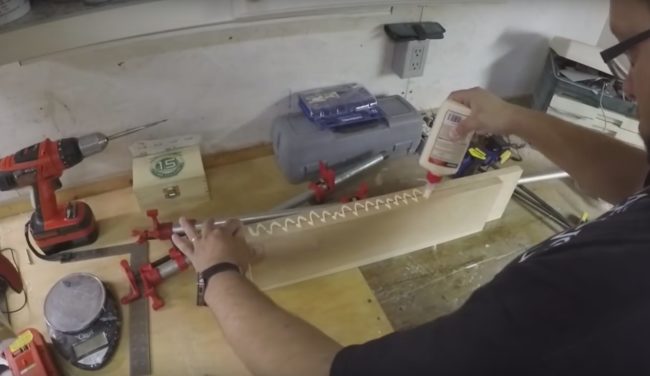
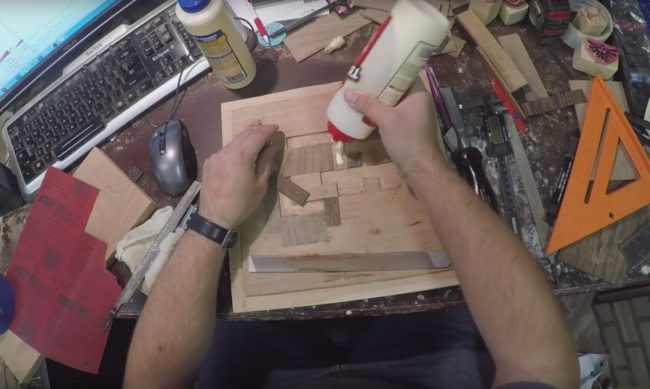
The crafter fastened the panels to each other with wood glue.
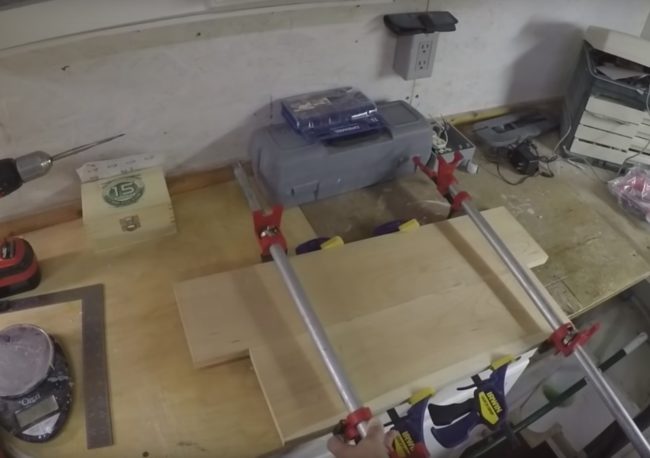
To avoid cupping, he used a clamp to hold the wood in place.
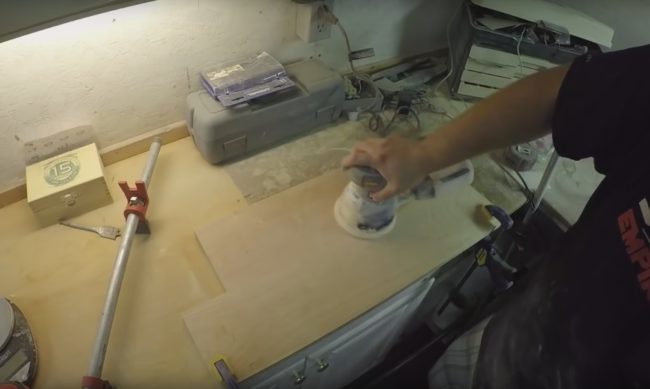
He sanded the glued joints for a smoother finish.
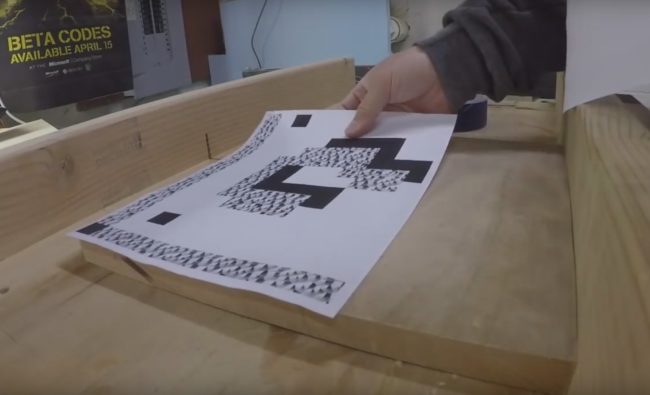
Using a pixel template, he was able to build his panels to scale.
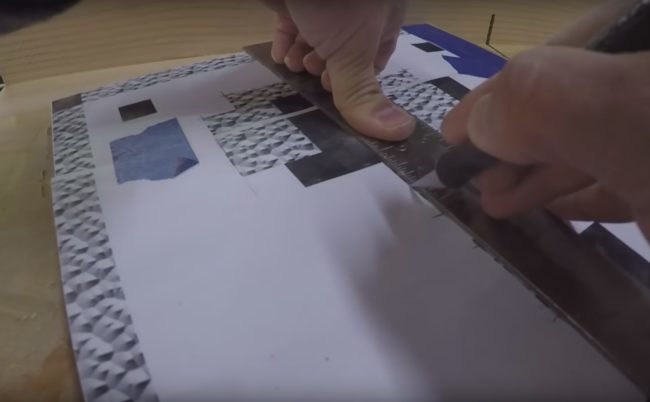
Scoring the outlines of the template with a blade, he quickly transferred the design.
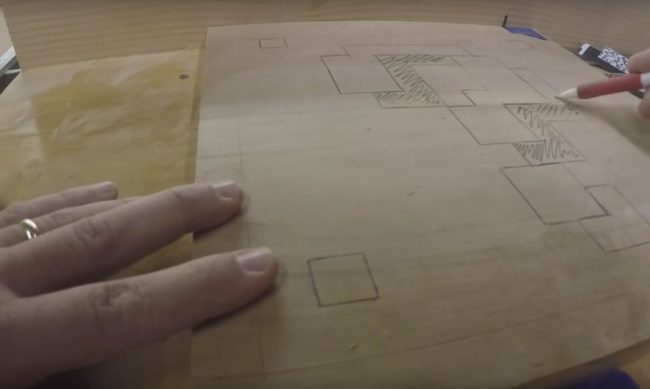
Once he had a light outline, he went over every line again to make things clearer.
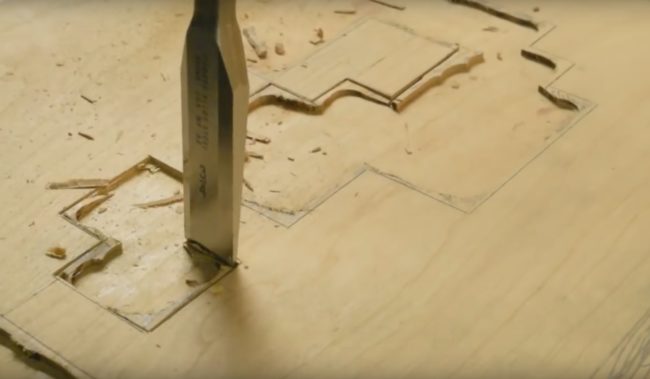
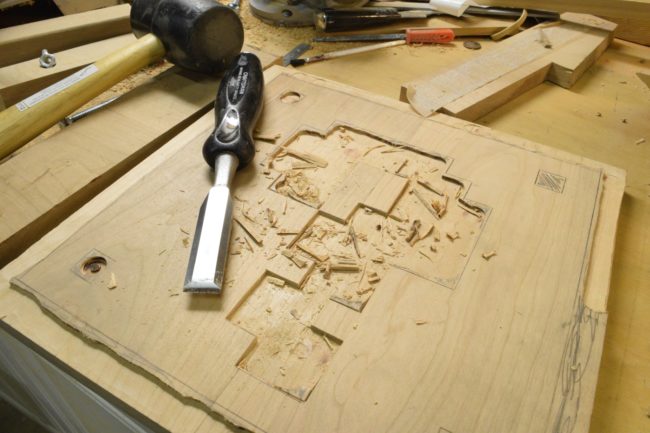
He began to chisel away at that pattern.
The design was starting to come together.
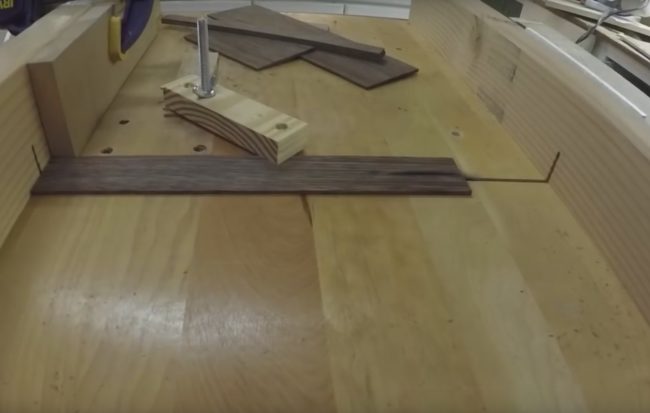
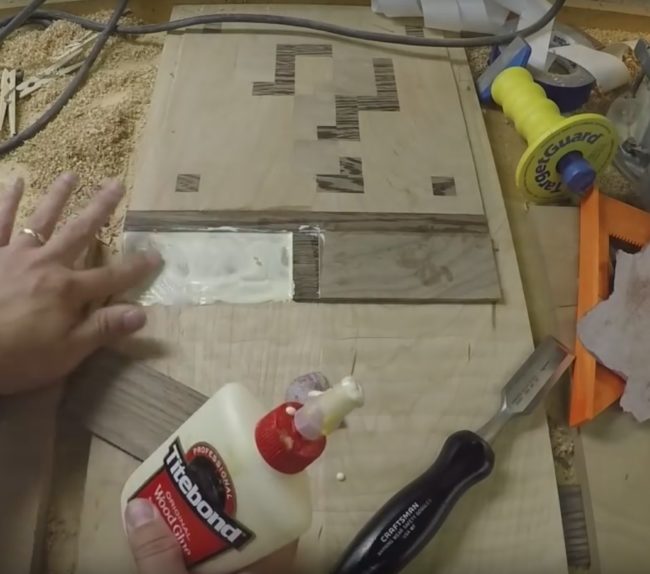
He cut inlay strips for the question mark as well.
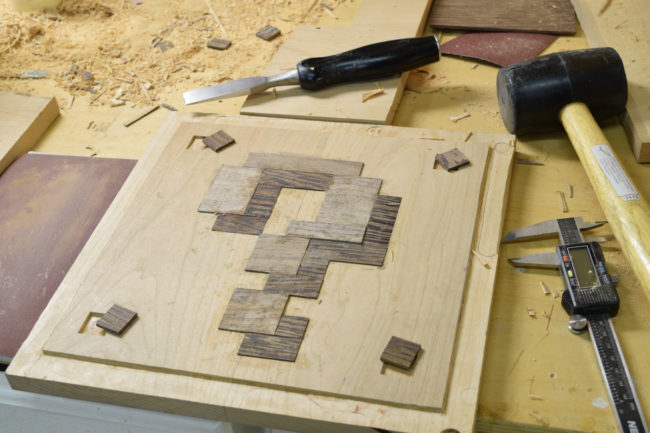
A file and a bit of sandpaper helped him get the perfect fit!
It’s incredible how similar the design looks to the game’s motif.
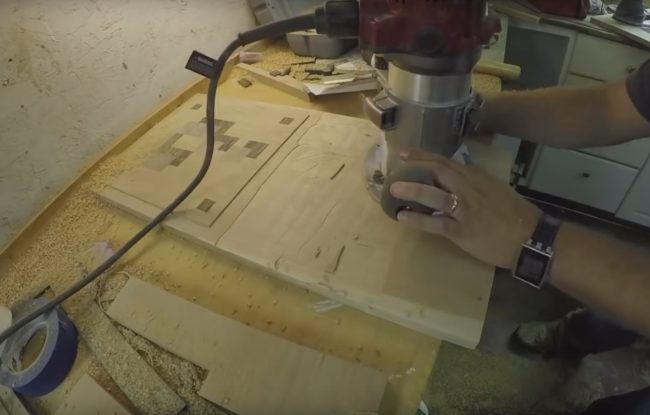
Next, he routed the bottom section of the bookcase.
He laid out the brick pattern a row at a time to prevent warping.
The craftsman used dowels to hold it all in place.
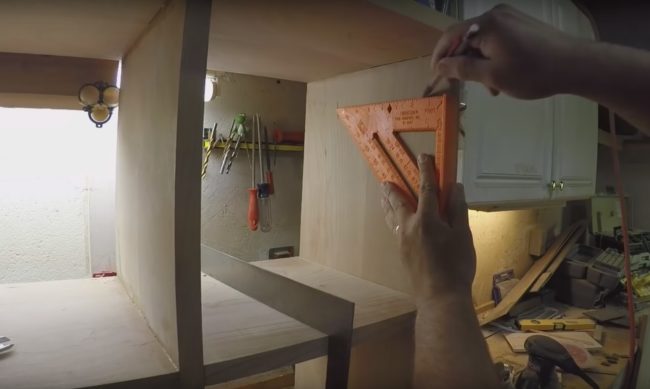
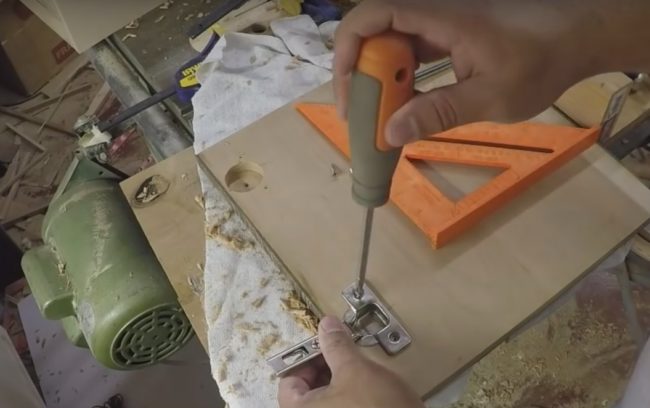
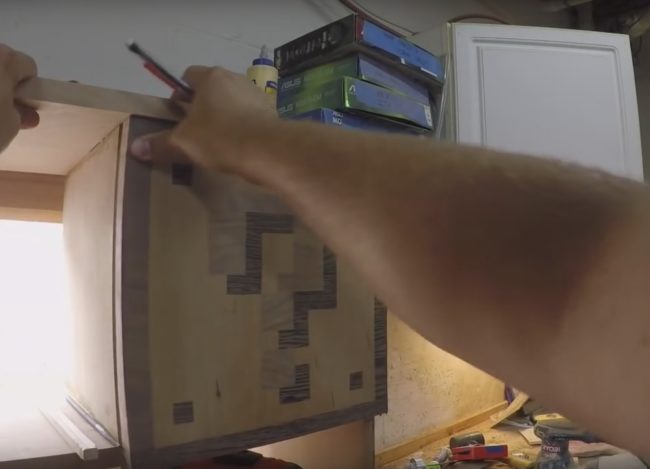
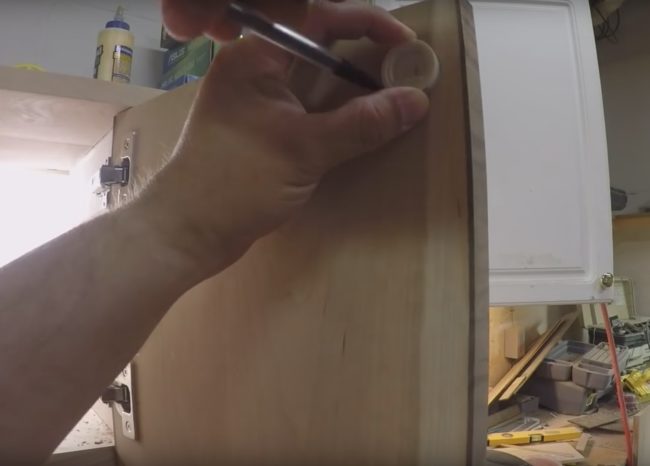
He then marked off the locations for the door hinges.
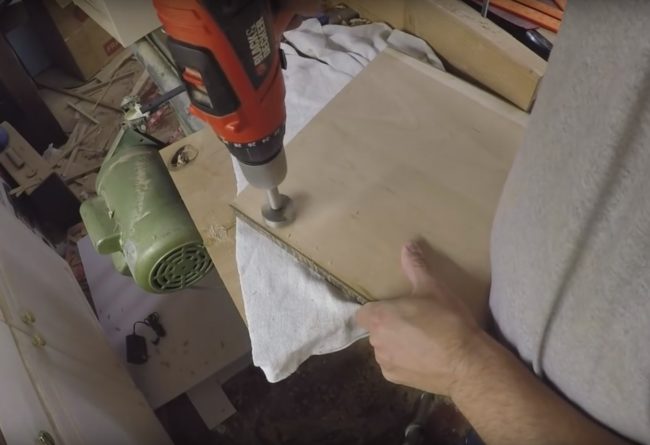
The European-style hinges required a different approach, so he used a circular drill bit.
All he had to do after that was assemble each door!
In no time at all, he had himself some cool-looking cabinets.
To child-proof the doors a bit, he installed a few catches so getting little fingers trapped wouldn’t be an issue.
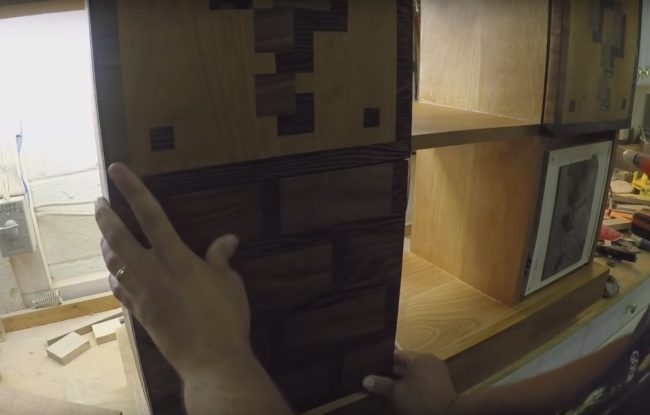
Then he attached the faces to each cabinet using hot glue.
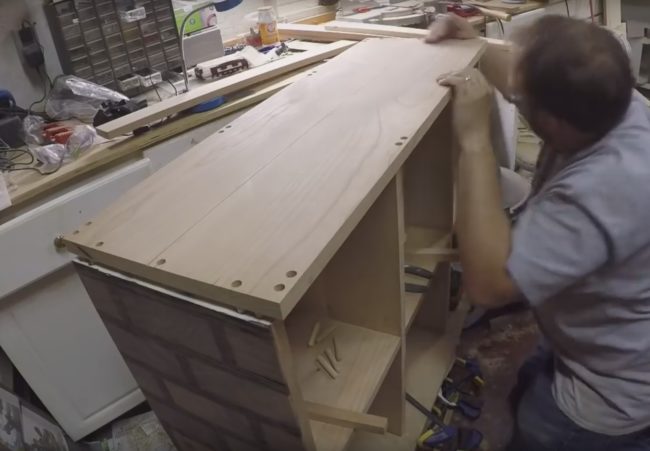
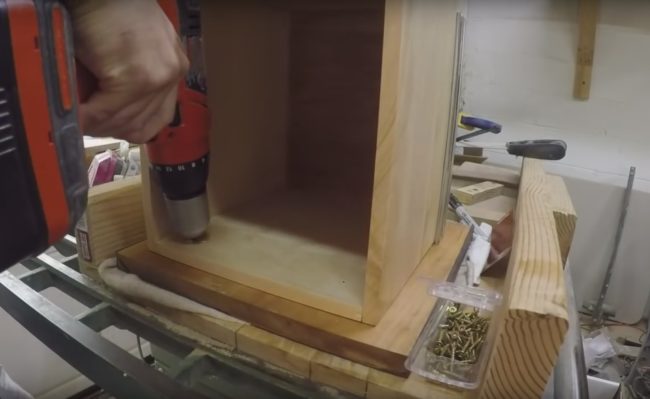
Screws were added for extra support.
The addition of trim was a nice touch.
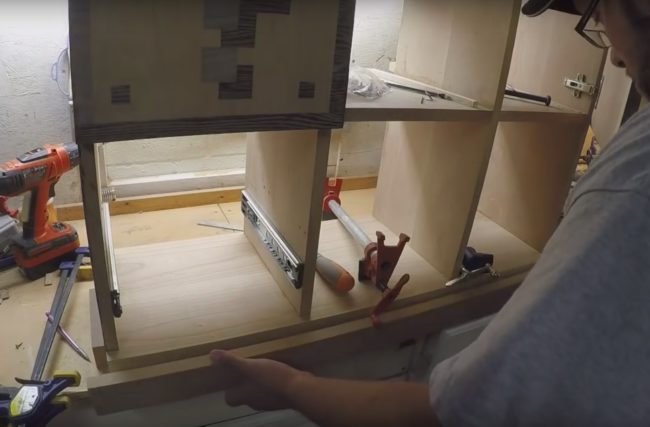
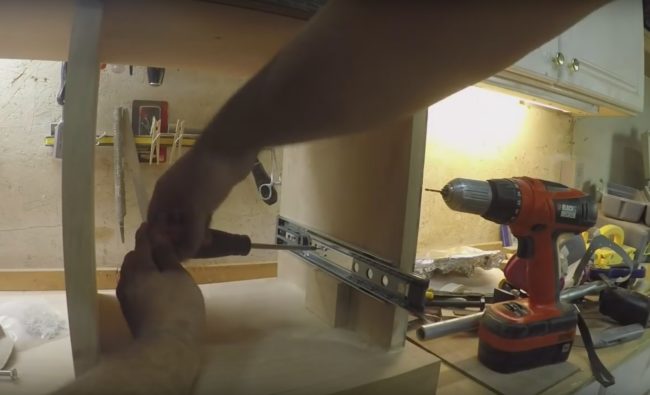
Next came the installation of the drawer slides.
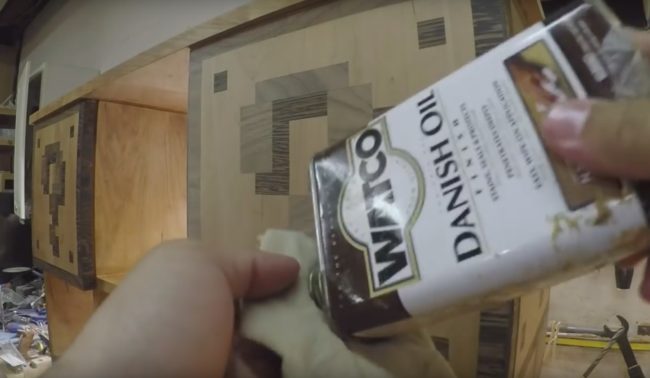
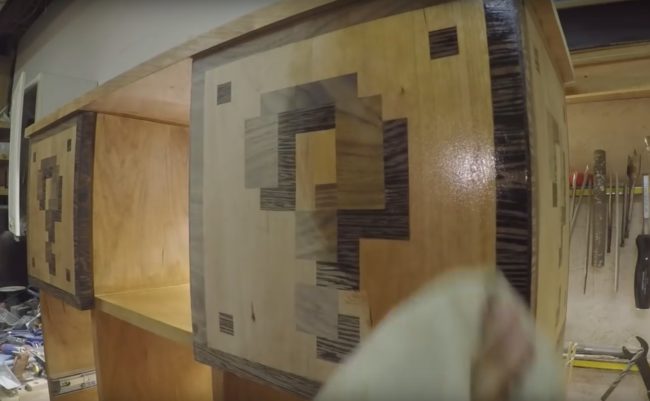
A little polish made it pop!
It’s amazing how much a good shine can improve your design.
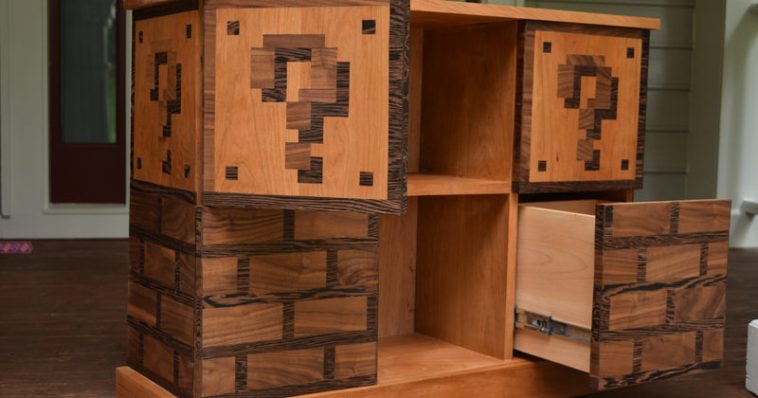
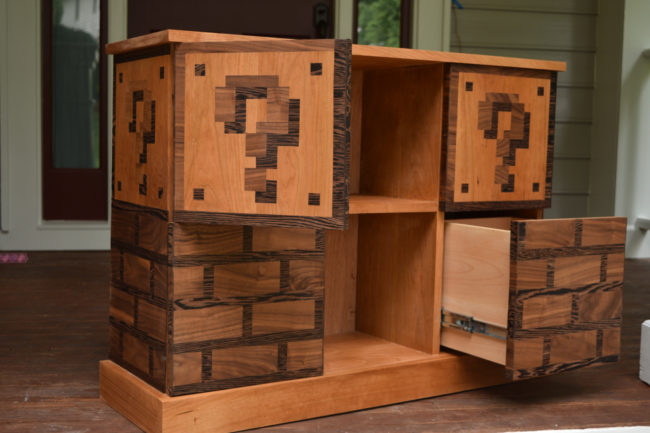
Take a look at the finished product.
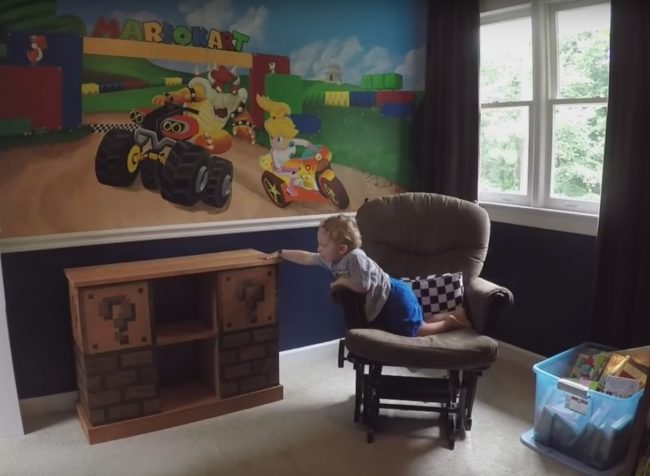
This piece is the perfect addition to an already awesome Mario Kart-inspired nursery. For even more cool designs and DIY projects from troymcklure, check out his website.
I wonder if this toddler would notice if I snuck in and borrowed his new bookshelf. I have a few extra books that won’t fit on mine.



Comments