Since I was about two, my bedroom has been the same baby-blue color. I remember one time I tried to take charge of my own redecorating process at the ripe old age of six and painted all my walls with orange fingerpaint. Well you can find some useful reference here for how to find eight contractor for granny flats. Long story short, that was the last time I tried to make any major changes to my room.
Well, as I get older, I think I’m finally catching the design bug. But when your artistic abilities are equal to that of a toddler (still), my options are a bit limited. Thankfully, Redditor RandyDandy61 just completed a cheap, yet effective accent wall that brought new life to his bedroom. It looks so simple, even I might attempt something similar.
Like any DIY project, it began by gathering all the materials.
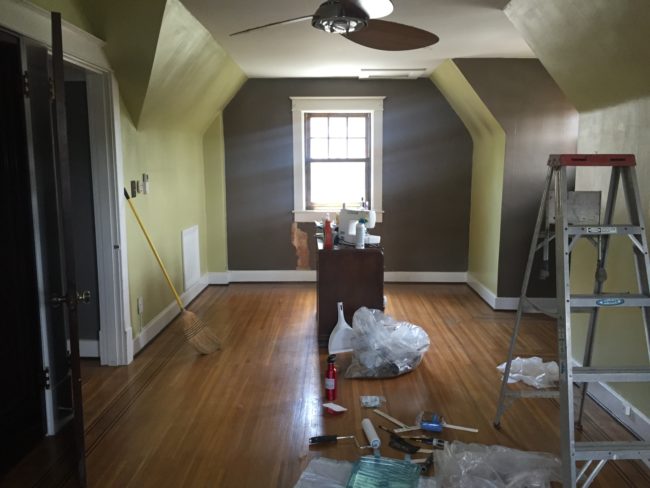
This is the bedroom RandyDandy61 started with. Take note of the ugly yellowish-green color left by the previous tenants.
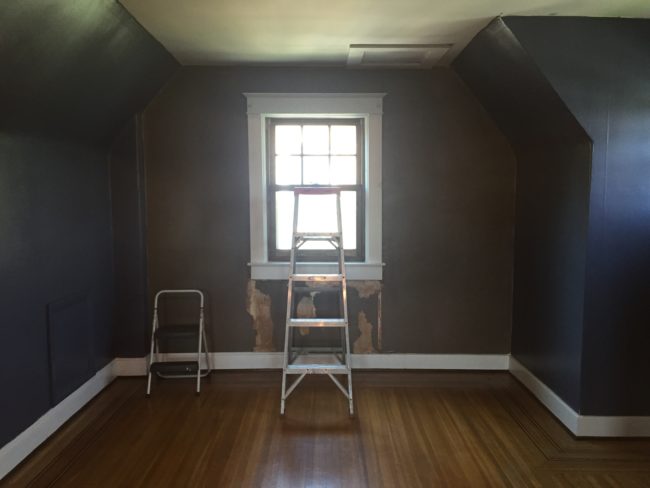
But that’s nothing a quick coat of paint couldn’t fix.
But what could cover up that ugly imperfection on the wall?
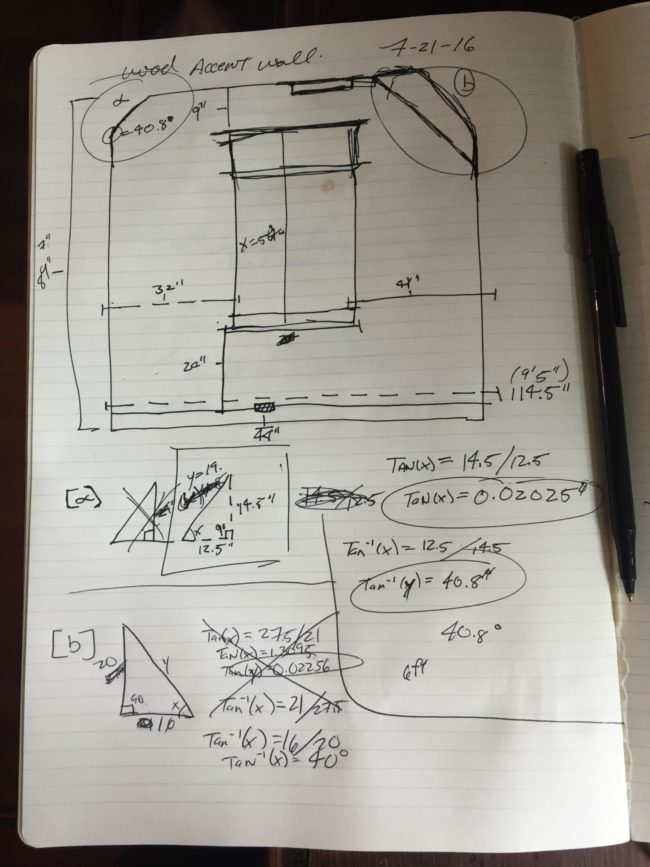
And you thought you’d never use math after high school! Our builder had quite a few angles to figure out before starting the build.
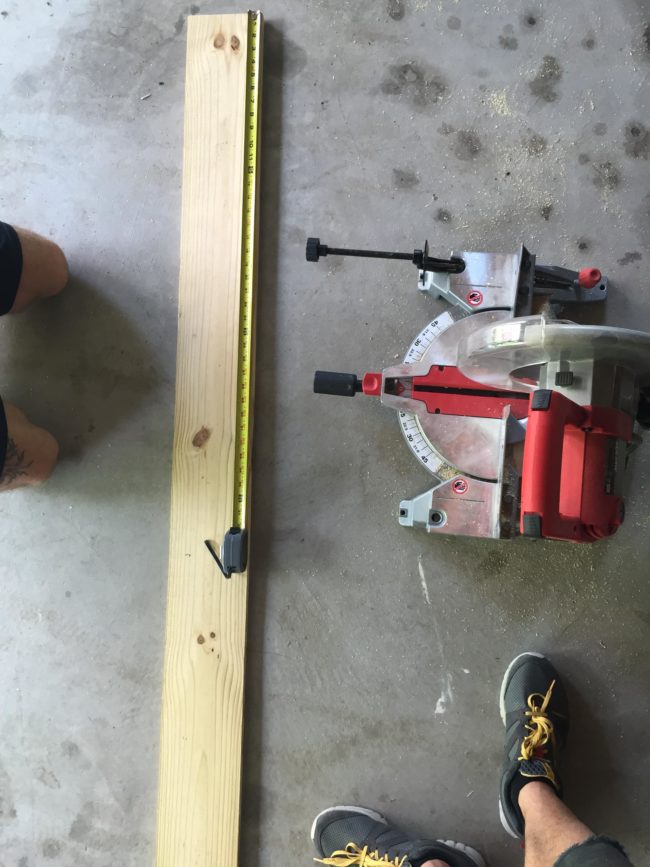
His goal? An accent wall! So he got to measuring, used a miter saw, and cut pieces of wood to match the design he had in mind.
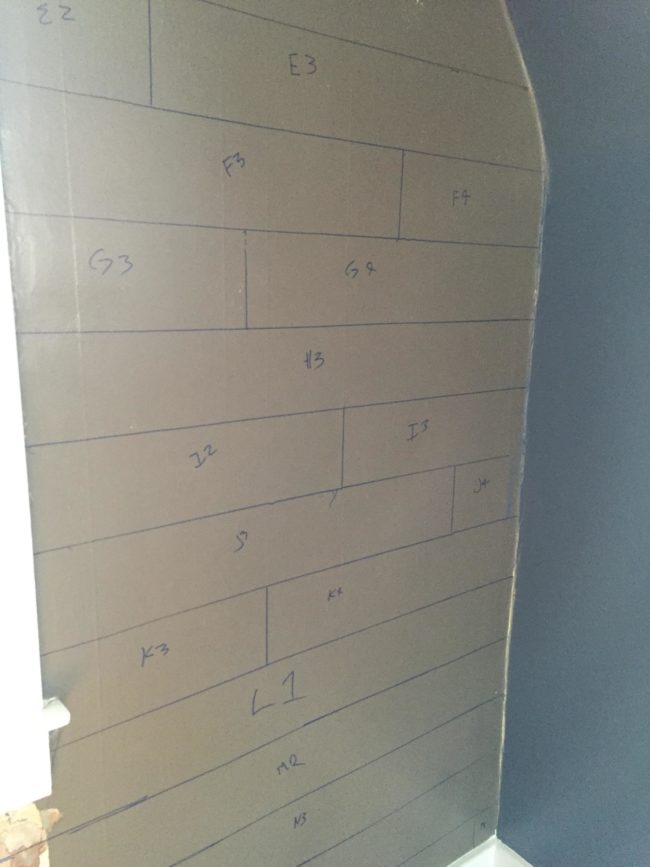
Drawing the template on the wall allowed him to better visualize the design. Labeling the pieces would prove to be a big help during the staining process.
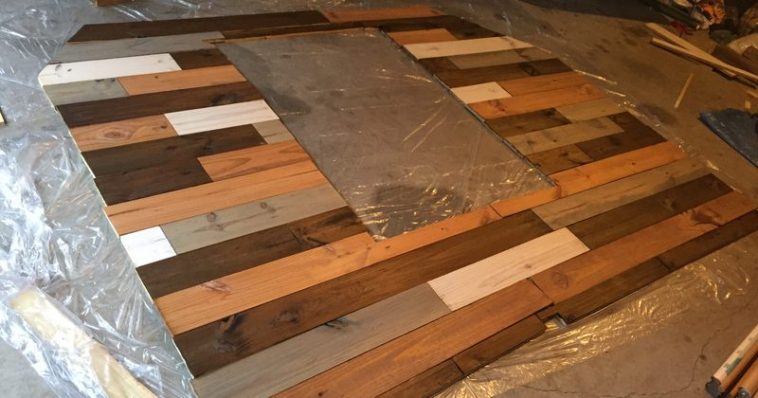
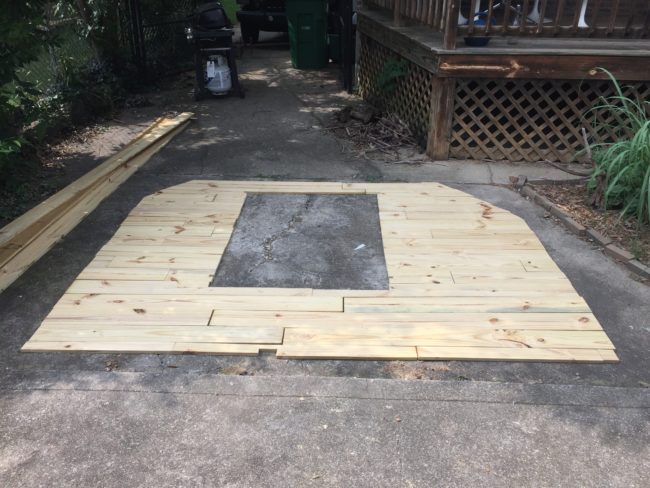
As he cut the wood row by row, he laid out the “puzzle pieces” for a better idea of what it would look like.
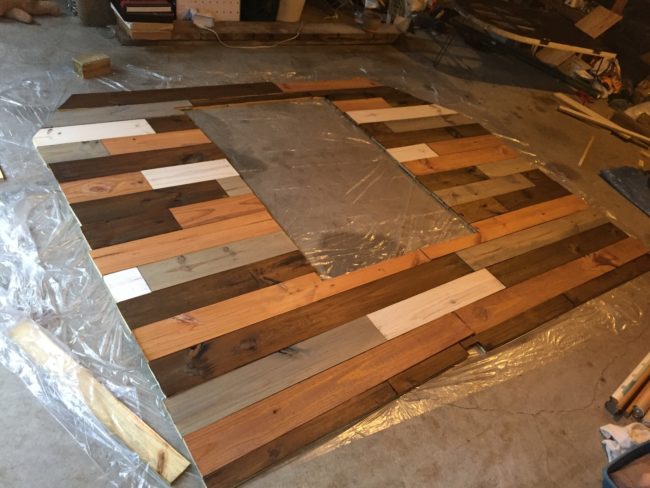
Our builder used five different stains and created his own whitewash using one part white paint to four parts water.
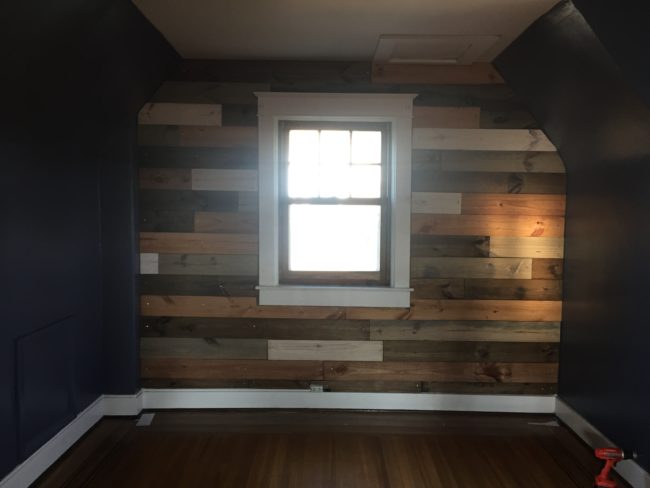
Using just a hammer and nails, our designer attached the wood pieces to the wall.
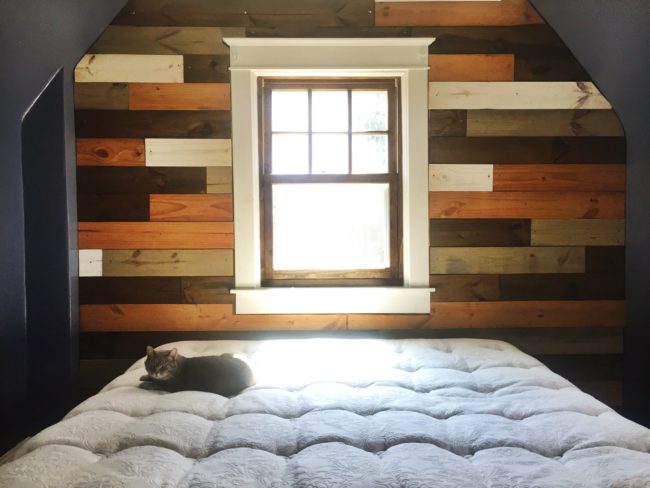
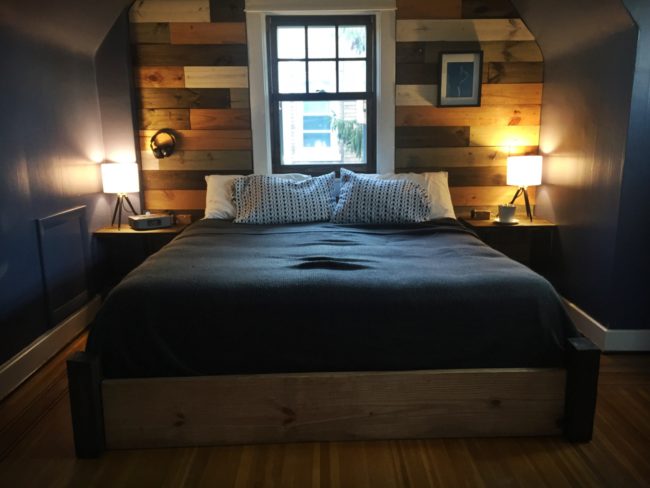
The time had come to bring the furniture (plus a cute kitten) back into the space.




Comments