
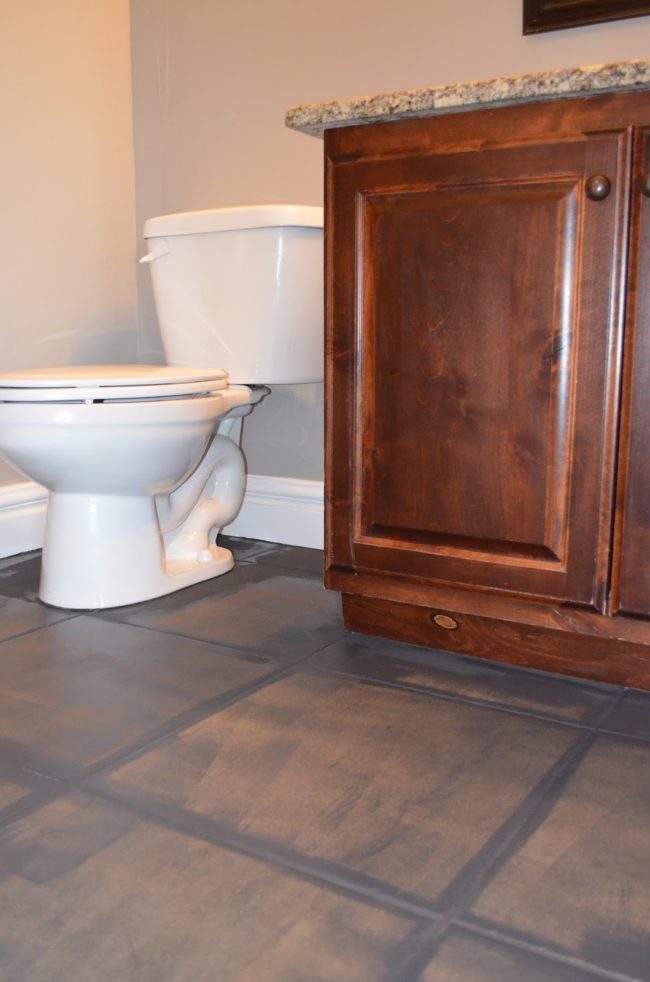
Do you have a room in your home that has nice furnishings…but horrible tiles?
Ripping up your flooring can put you out hundreds, if not thousands, of dollars.
When Mysha over at Remington Avenue had finally had it up to here with her bathroom’s tiles, she came up with a genius idea to revamp the room. She asked one simple question: “We paint our walls, our furniture, and even our concrete…so why the heck can’t we paint our tile?” The short answer…we CAN! And it’s actually totally easy — here’s how to do it.
You’ve probably seen beautiful tiles like these ones at Home Depot…but they can be pretty expensive.
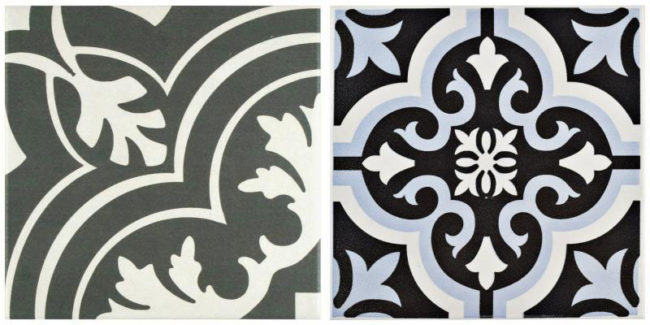
And if you’re not a professional, having them installed is even more costly.
So Mysha came up with this genius idea…paint her tiles with a stencil!
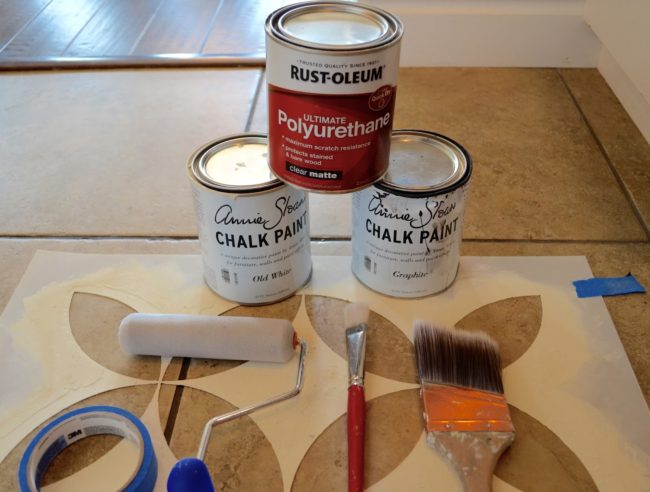
She gathered these materials:
- Annie Sloan chalk paint in the colors you want (Mysha used Old White and Graphite)
- Polyacrylic for sealant (she chose a low luster to reduce shine)
- Foam roller and a few replacements
- Synthetic paintbrush
- Painters tape
- Custom stencil measured to the size of your tile
- Thin craft paintbrush
Before you do anything…
Be sure to thoroughly vacuum and clean your tiles. If you don’t do this, your paint won’t stick to the tiles and will peel in places where dirt becomes dislodged after the fact.
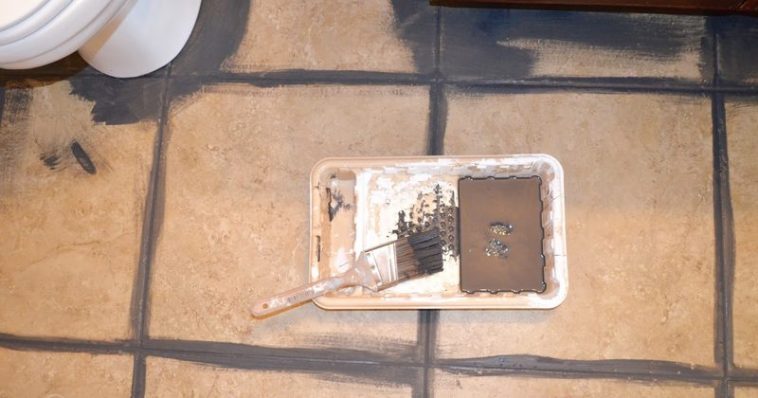
After taping all the baseboards and items in your room, paint the exterior and grout with your base color and let it dry for an hour.
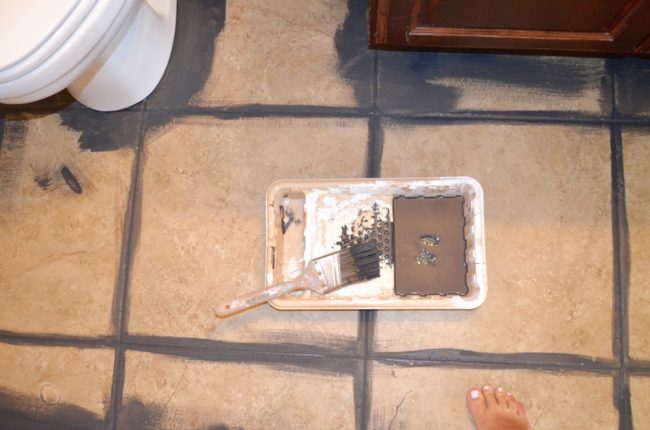
Then, go back over everything with a roller and the same color. You’ll need a few coats, depending on what hue you use.
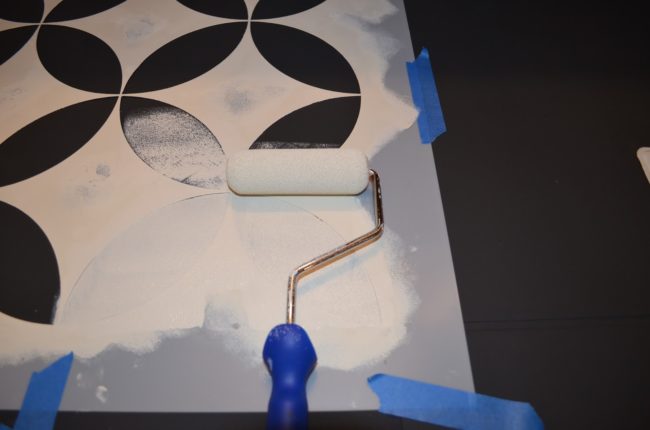
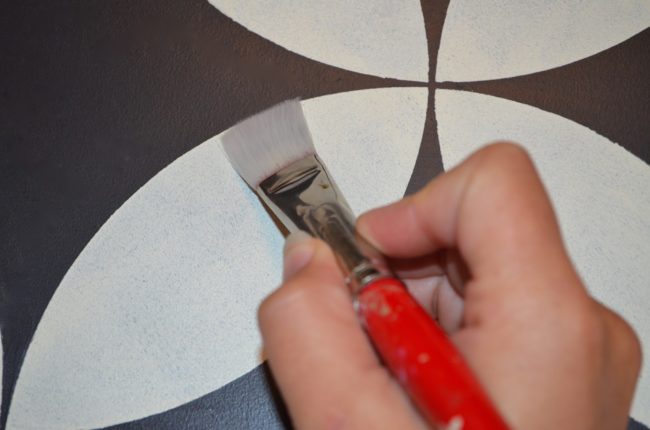
Tape down your stencil and use a new roller to paint on the second color. Since the chalk paint dries pretty quickly, you’ll want to paint small sections at a time, instead of going over the entire design.
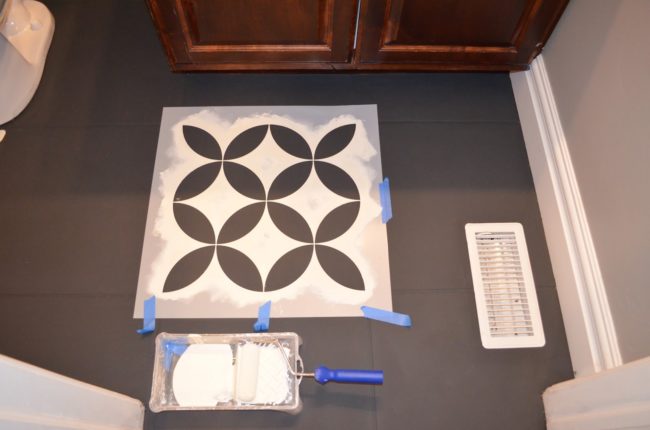
Mysha ordered her custom stencil here and recommends that you provide precise measurements.
Never paint adjoining tiles back-to-back — you want to allow for proper drying time.
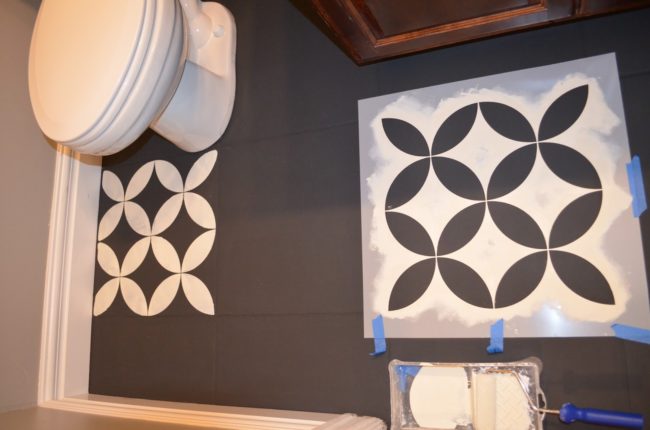
After you’ve finished and let the floor dry for two hours, go back over any imperfections with your base and top coat and a small brush.
Finally, apply four layers of polyurethane, allowing two hours of drying time between each coat. To see the finished result, visit Remington Avenue!
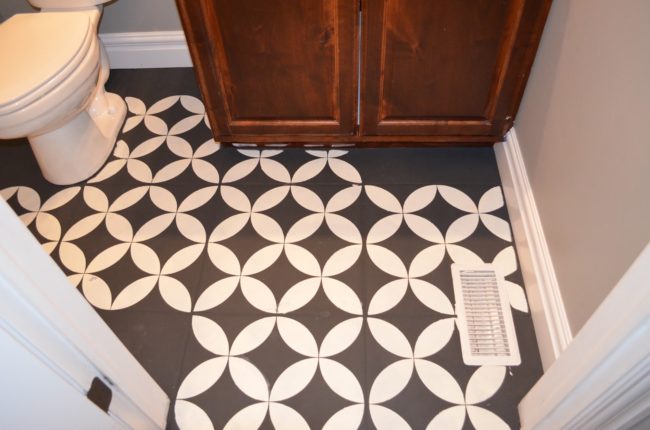
How cool is that?! With just a few hours of work and some simple materials, you can completely upgrade just about any room.
Don’t forget to check out Remington Avenue for tons of other awesome DIY projects and follow Mysha on Pinterest and Instagram.


Comments