
When mother and crafter Tara of Tara Michelle Interiors was out there for a brand new bookshelf, she opted to go the DIY route.
Not solely was she working with a smaller area, she additionally did not need to spend a ton, and was after one thing extra distinctive than boring, huge-field choices.
What she did subsequent with a bunch of low cost picket crates may encourage you to comply with in her artful footsteps. The gorgeous outcomes of just some hours of labor look positively skilled!
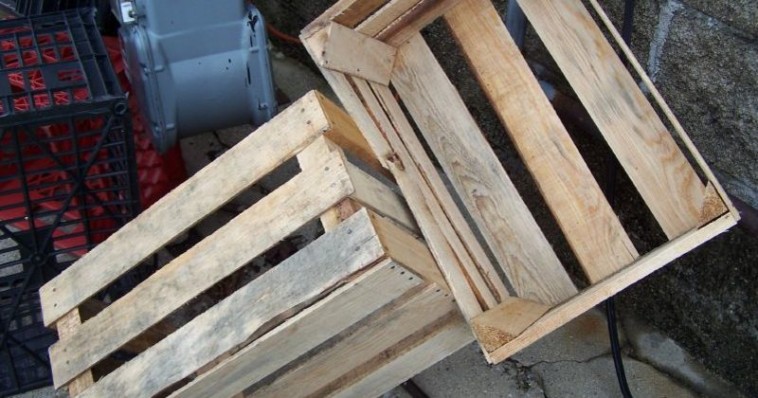
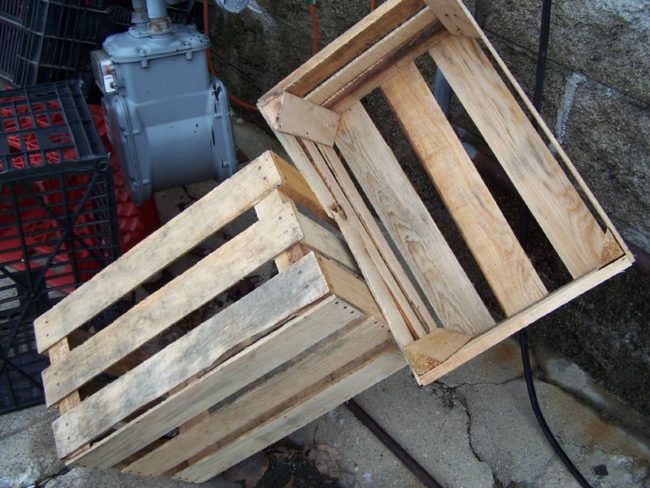
First, you will want some crates. For those who’re fortunate, yow will discover these outdoors of grocery shops, in junkyards, or in case you’re not into searching, at your native ironmongery shop or House Depot.
Tara recommends these further instruments and supplies…
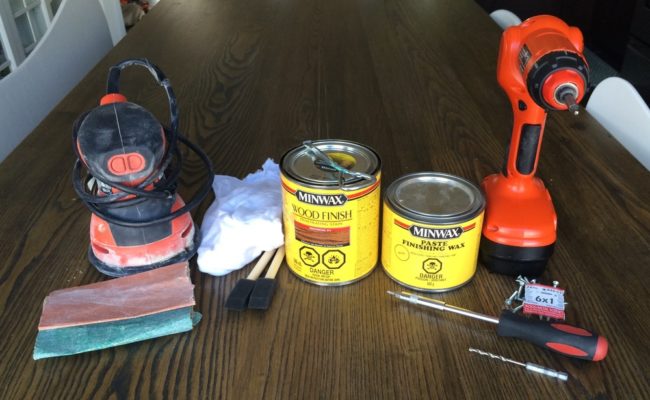
- eight unfinished wooden crates
- a sander or just some grades of sandpaper
- 6-eight sponge brushes (she discovered they broke after one or two crates)
- rags
- a plastic tablecloth
- Minwax stain — 946ml can (select whichever colour you want)
- Minwax paste (optionally available)
- drill or screwdriver
- 1″ screws
- l-bracket to attach the case to the wall
The crafter recommends testing out a number of format variations. The match wasn’t proper right here, so she adjusted accordingly.
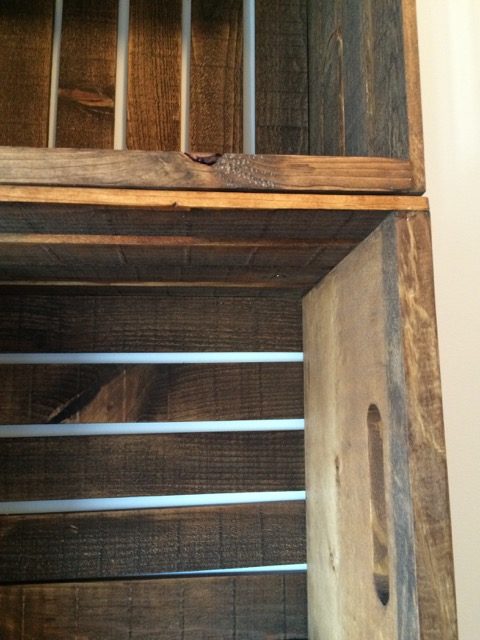
Then, utilizing a sander or sandpaper, clean all of the surfaces of the crates. Mud every part off after which stain the crates. You need to wipe them down shortly after.
After she allowed every part to dry for at the very least eight hours, she coated the crates with wax and wiped it off after ten minutes. Whereas Tara says this is not essential, it does assist shield the wooden from put on.
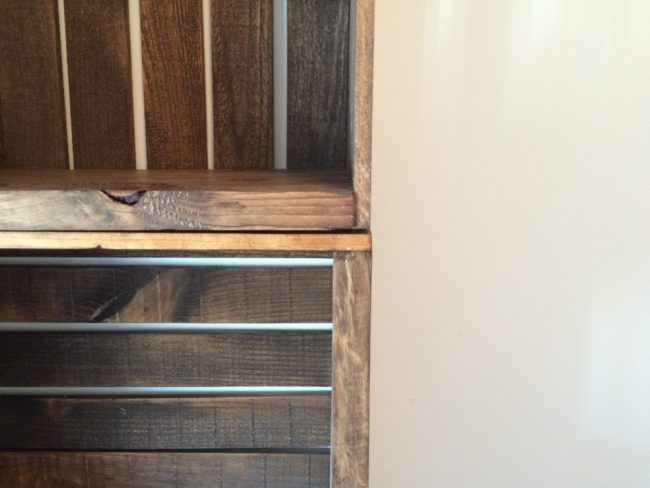
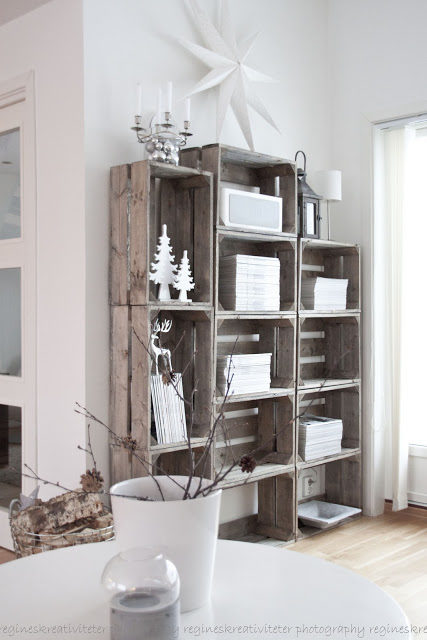
This is the country end result she achieved.
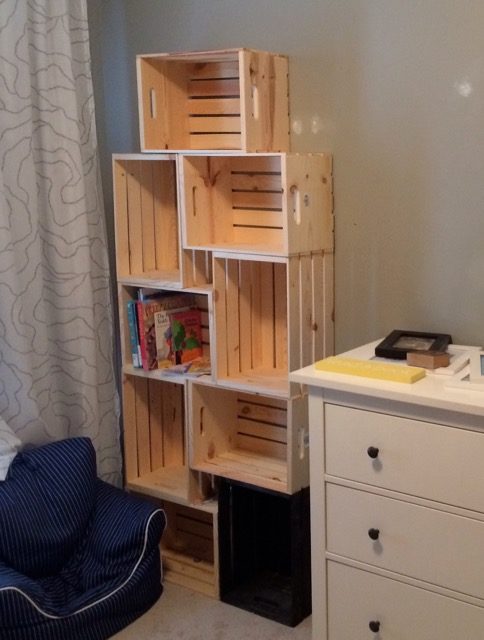
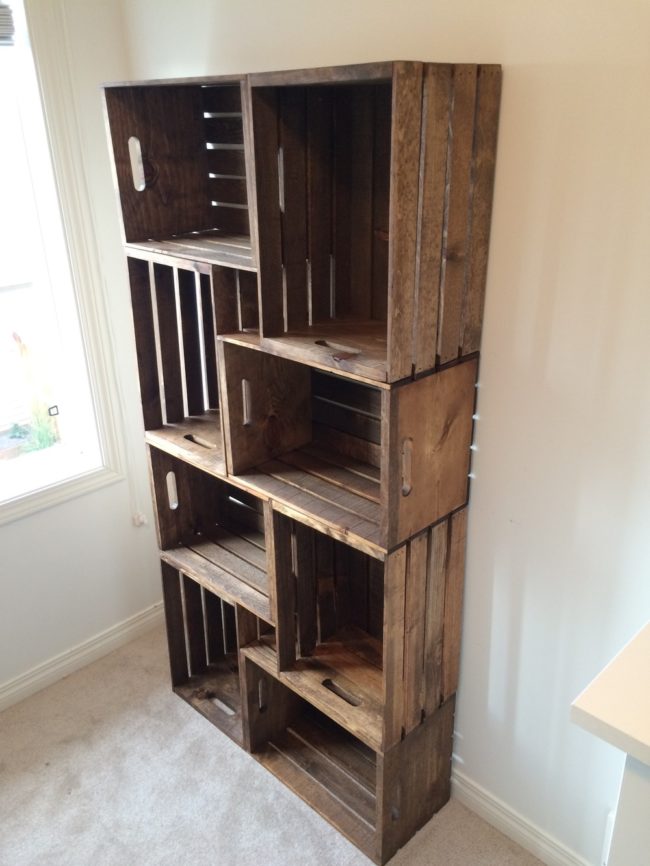
Lastly, beginning with the underside two crates, start screwing them collectively one after the other.
Ensuring every part is aligned can be a bit tedious course of, however acknowledge that it does not need to look good. That is half the attraction of this classic look!
When all was stated and accomplished, this was the gorgeous end result.
If that format does not strike your fancy, although, you possibly can all the time go for this version.
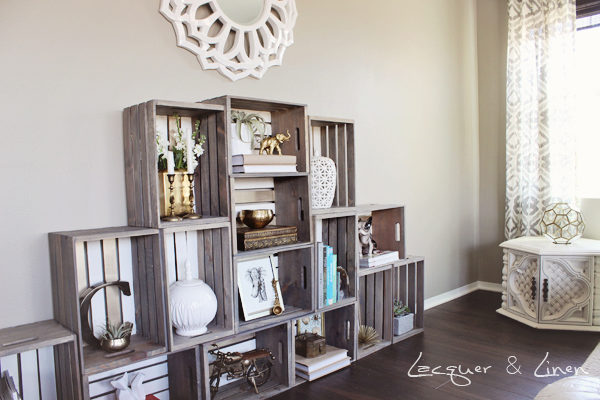
That is additionally this beautiful option.
Take a look at extra impressed design concepts on Tara’s blog. You may as well comply with her on Facebook, Pinterest, and Instagram!


Of course, what a fantastic blog and educative posts, I definitely will bookmark your blog.Have an awsome day!
View Comment