One man’s trash is another man’s…coffee table?
Did you know that every three to five years, wineries have to discard their old wine barrels in an attempt to preserve the taste and flavor? The barrels become “oak neutral,” meaning they no longer add to the overall flavor of the wine.
No one likes a bad tasting wine, but why should these beautiful barrels go to waste? While some are sent to distilleries and repurposed to age whiskey, others are simply tossed aside to collect dust.
Struck with an idea while enjoying a glass of wine himself, Instructables user johnwhitmarsh came up with a genius way to repurpose barrels that any craft enthusiast would love!
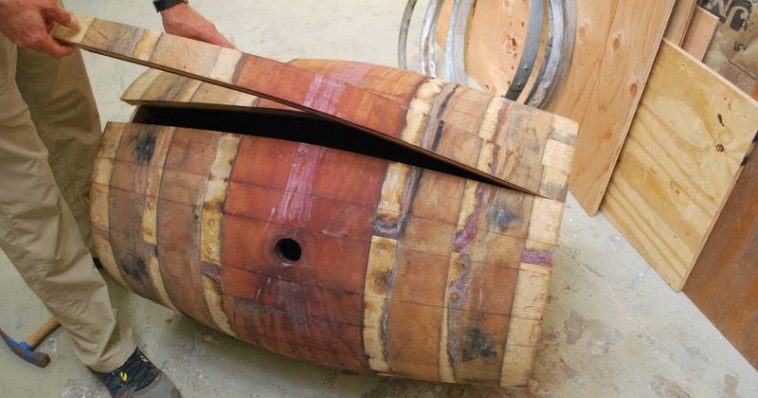
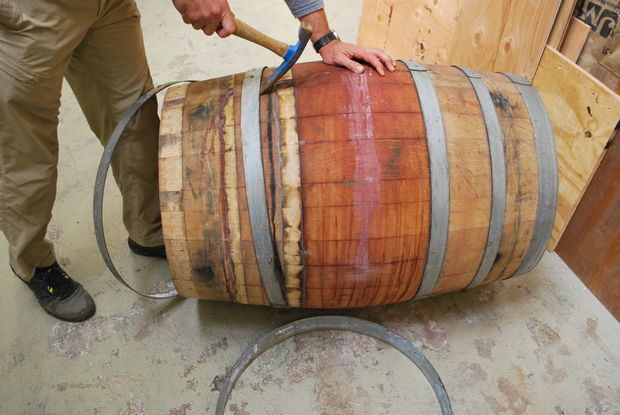
First he had to find some wine barrels — he got two from a local reseller and removed the metal rings.
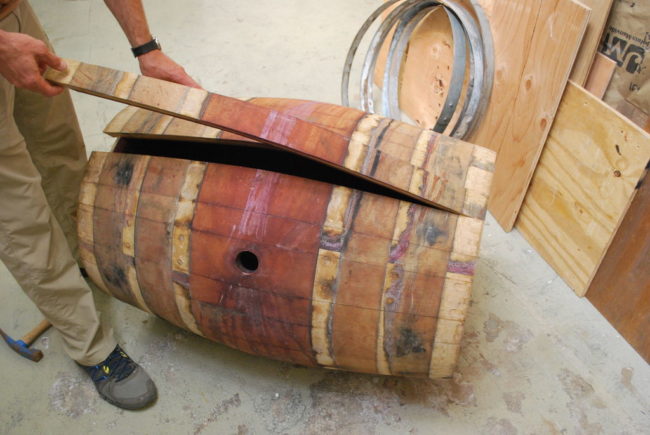
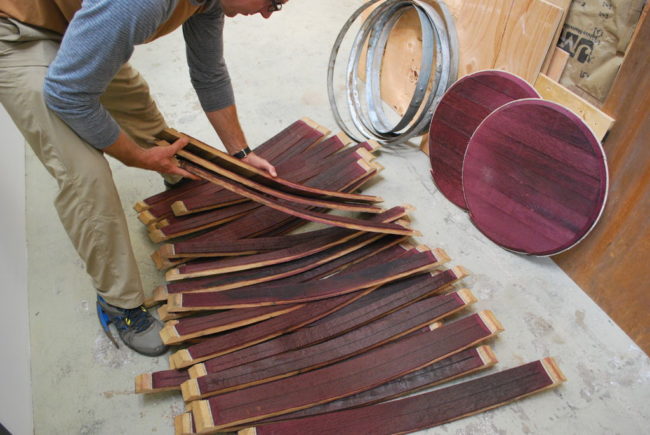
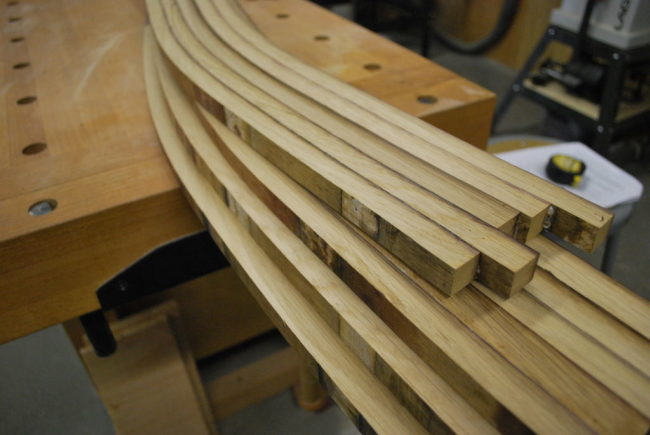
Once they’re off, the barrel’s staves — or wooden slats — come apart easily.
Like any fine wine, these wood staves will have to dry!
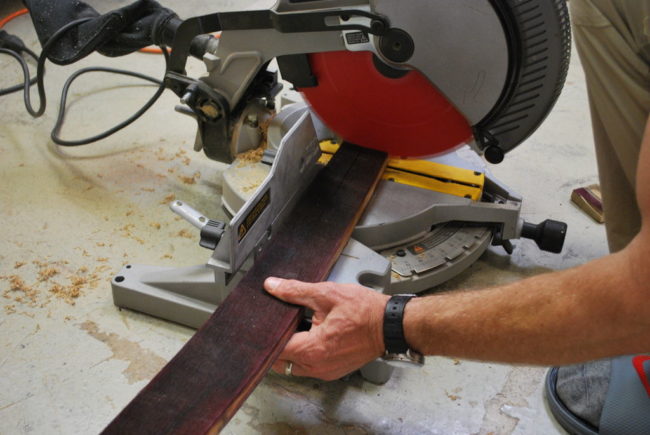
Because of the shape of the barrel, each stave is slightly wider in the middle and will have to be cut straight for this particular project.
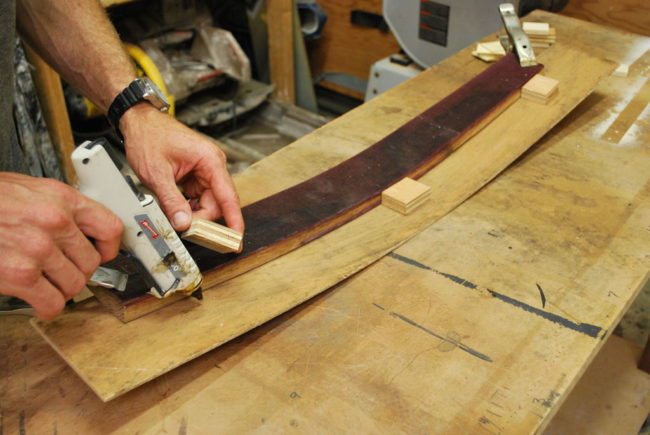
Assembling a quick jig will help ensure that each stave is cut to perfection!
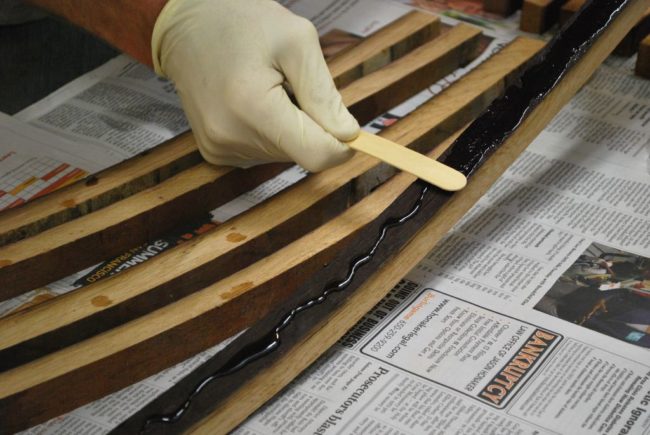
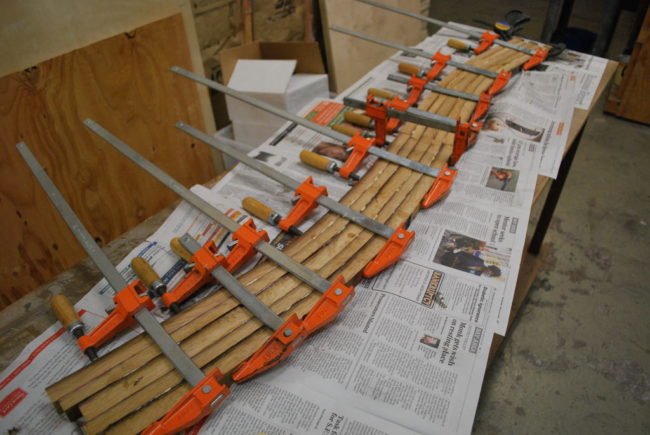
Applying urethane glue to the surface will help close in the gaps between the staves.
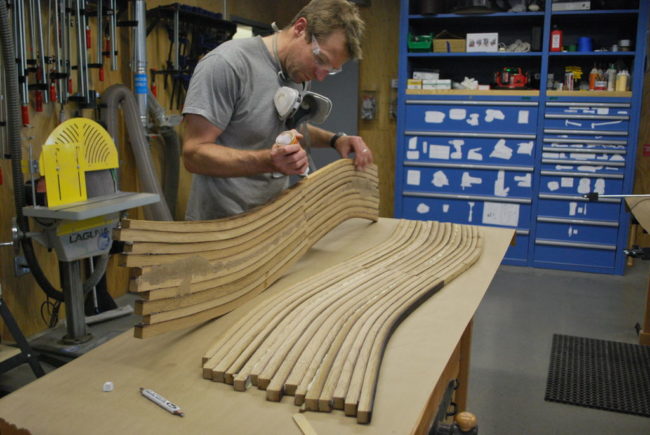
This step can be a bit time consuming. Johnwhitmarsh recommends starting small, gluing five staves together at a time.
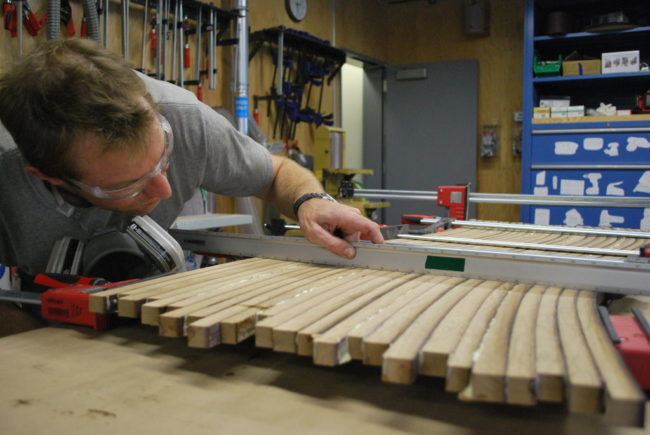
The freshly glued staves will need to be clamped to prevent the middle from cupping or bowing.
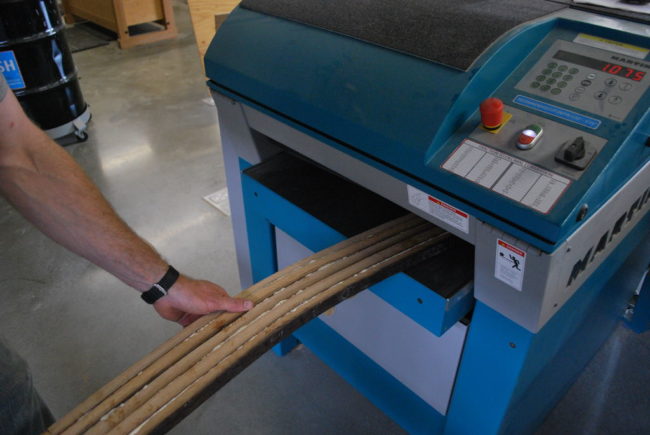
Next, plane the staves until there is no glue showing.
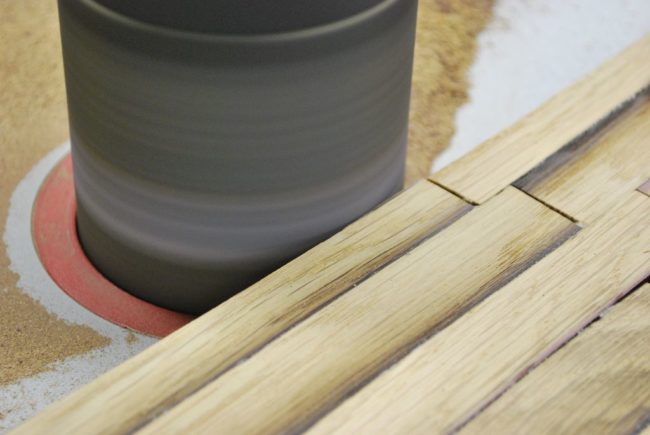
Use a drum sander to square the edges to 90 degrees. This will allow the edges to be flat and smooth for the next round of gluing.
Each group of staves will have a different shape, so to aid in the process, one batch must be sanded down to match the other.
Now it’s time to glue the grouped staves together.
The builder recommends gluing two groupings together at a time to maintain that all the pieces remain flat.
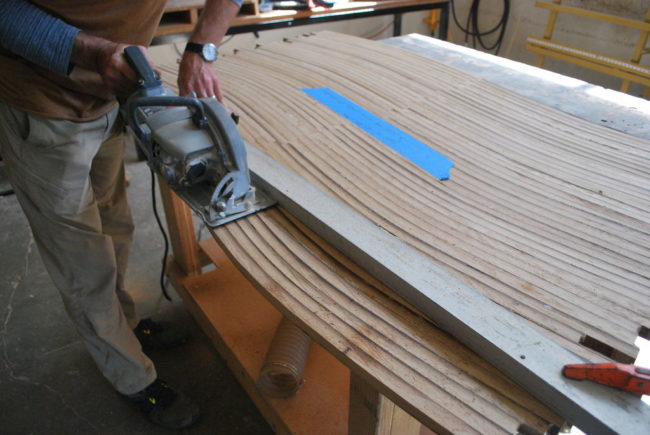
The builder made the decision to cut the sides of the table straight across, but leaving the curve would give a visually-pleasing aesthetic!
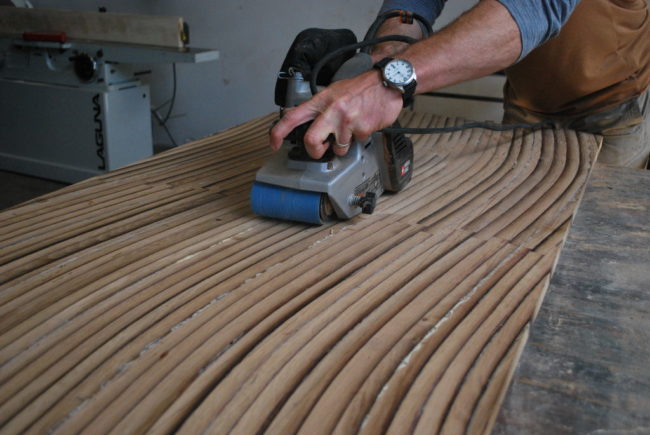
No one likes a rough table top! Smooth it out with a belt sander.
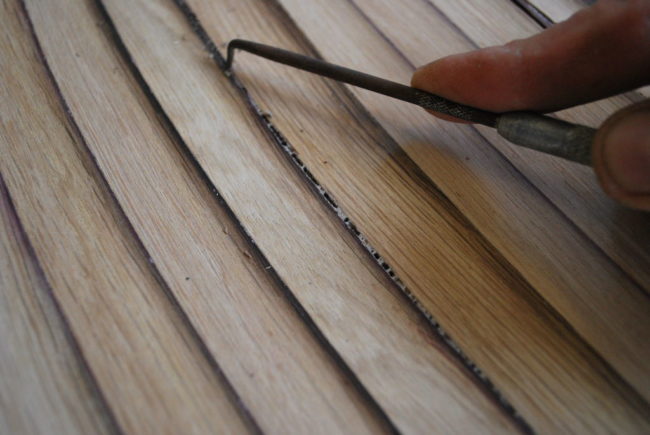
He was a perfectionist and used a pick to scrape out excess urethane foam.
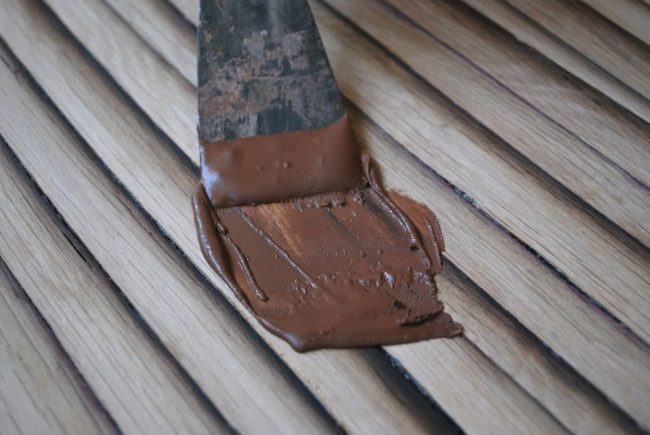
Coat the entire surface with an acetone-based wood patch.
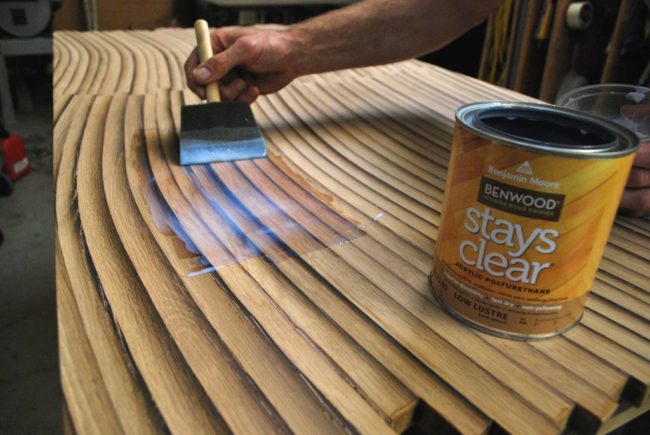
Apply two coats of satin-urethane varnish. Be sure to sand between coats.
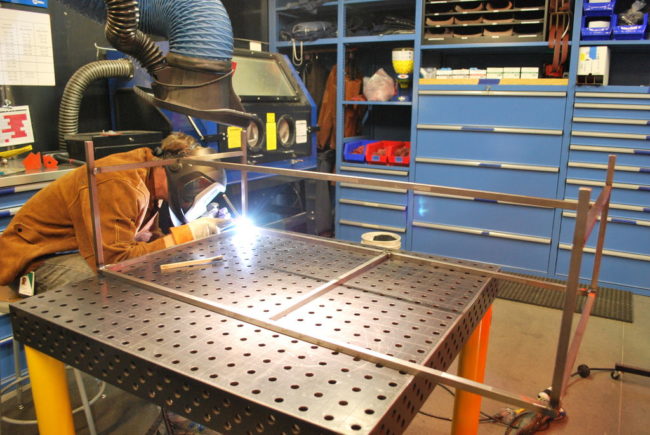
Johnwhitmarsh used solid square steel to create legs and a base that was both thin and sturdy.
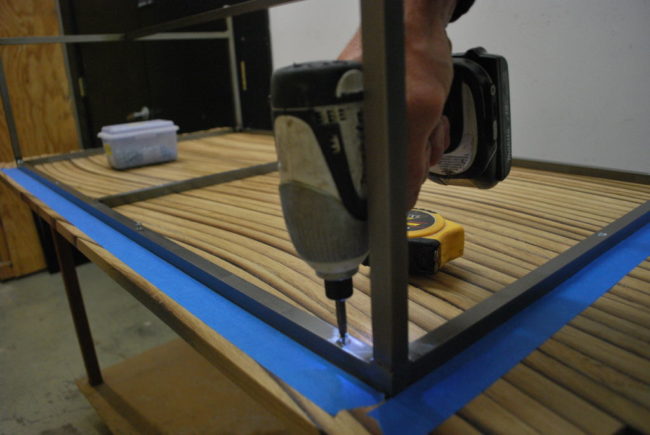
All he had to do next was attach the tabletop to the base!
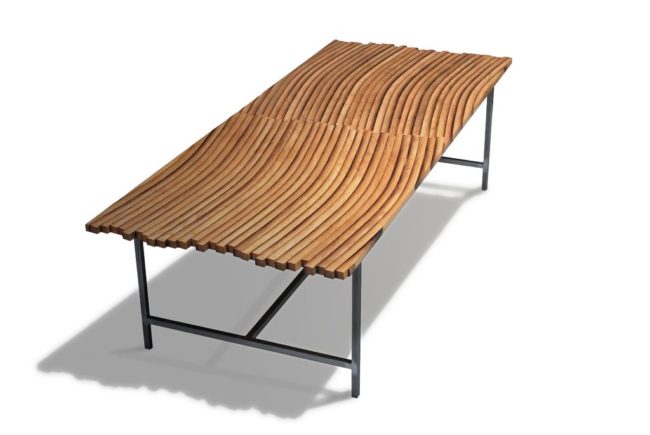
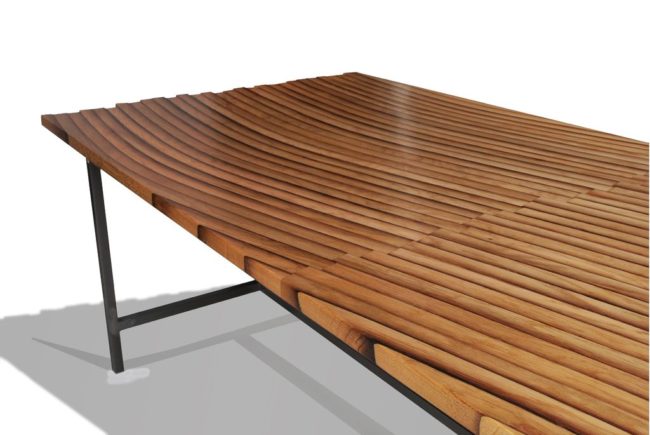
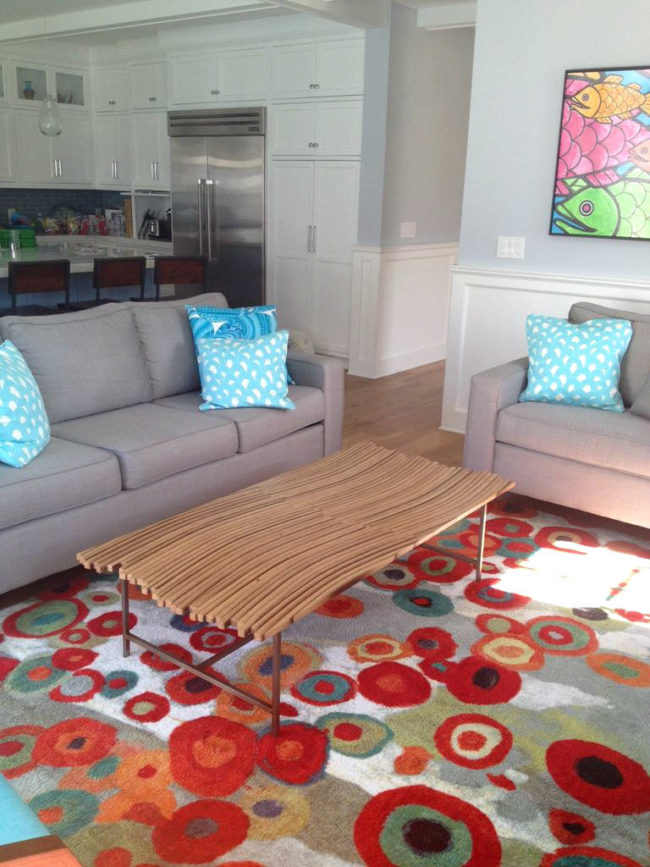
Look how sleek an contemporary the finished product is!
I need one of these for my living room.
Cheers to another wine-inspired DIY design!




Comments