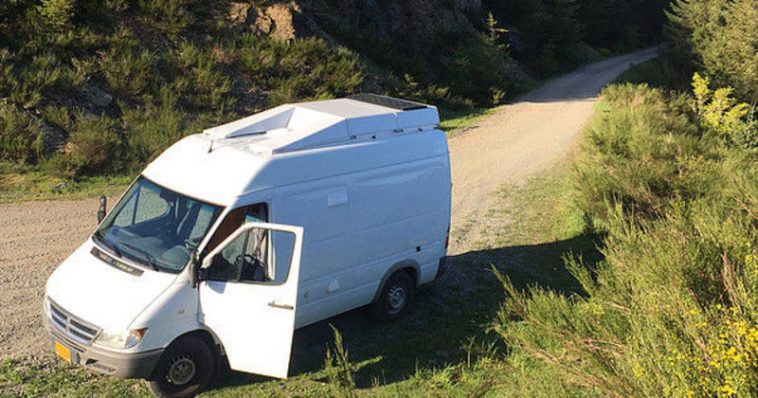
For years, Instructables user Making It There had a dream to overhaul a Sprinter cargo van. This dream came at a price, though. He booked a trip from Portland, Oregon, to the East Coast where he was finally able to purchase the exact Sprinter model that he had always dreamed of.
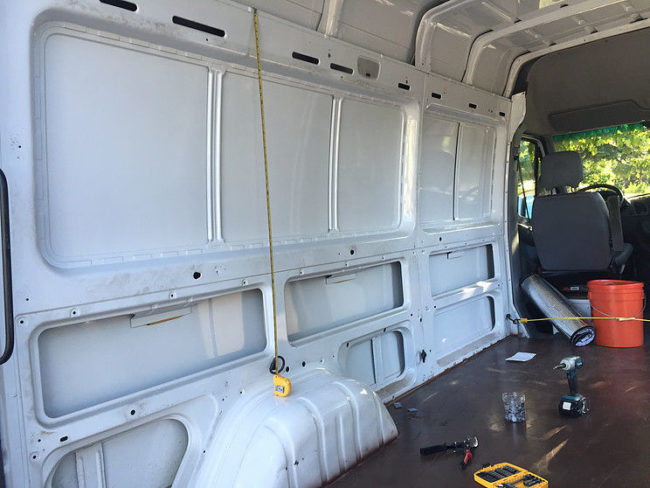
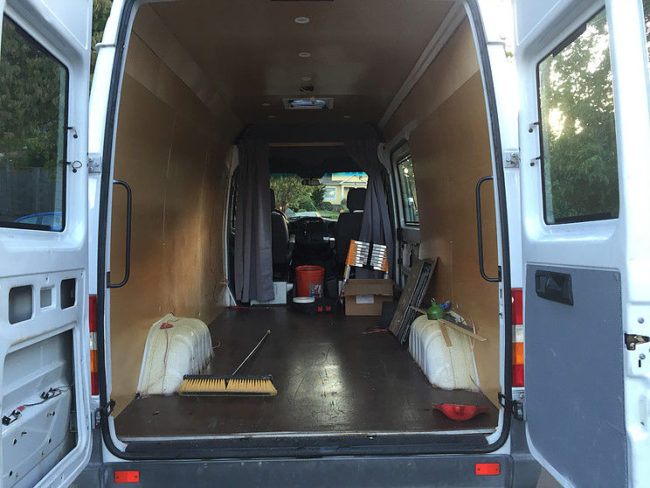
With the van in his possession, in order to transform the vehicle from drab to fab, he first needed to gut the entire interior. In just over six months, Making It There was able to remodel his 2006 Sprinter into an RV ready for nomadic inhabiting.
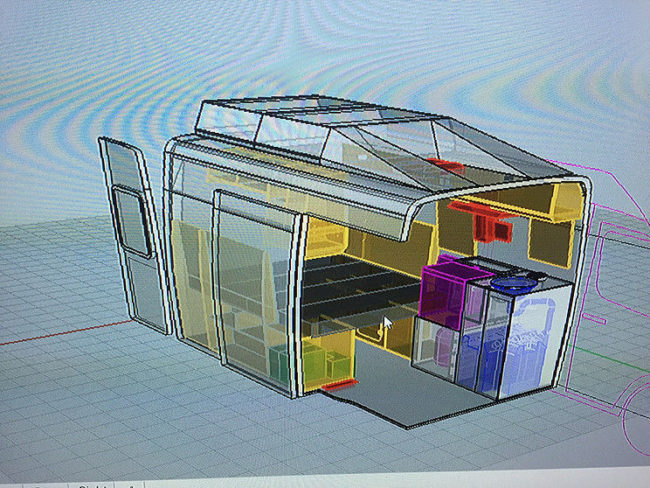
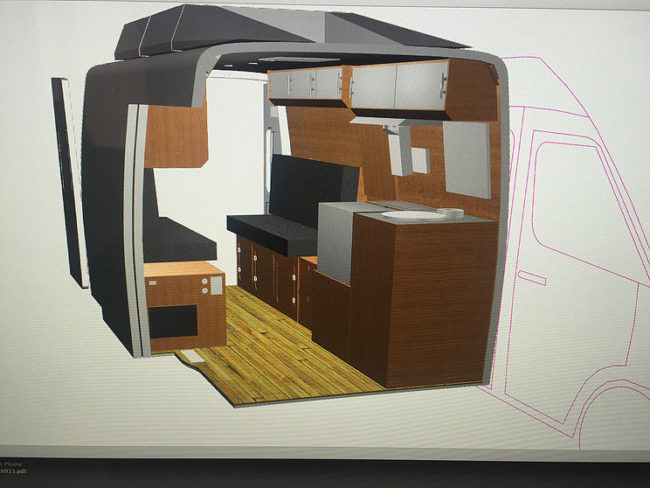
Making It There loves to engineer and create new designs in CAD, so it only made sense that he would use the program to map out his new RV.
With the layout finalized, he was able to break up chunks of the design, such as the cabinetry, into smaller pieces, making it easier to produce a materials list.
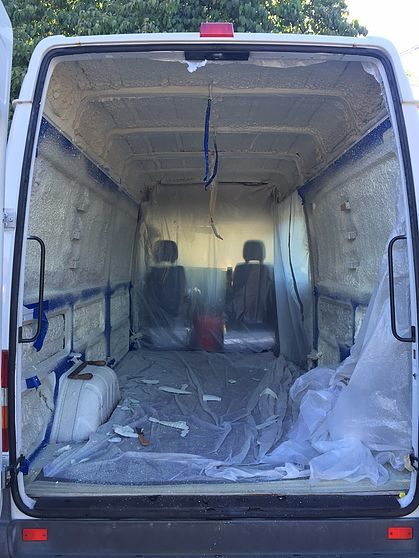
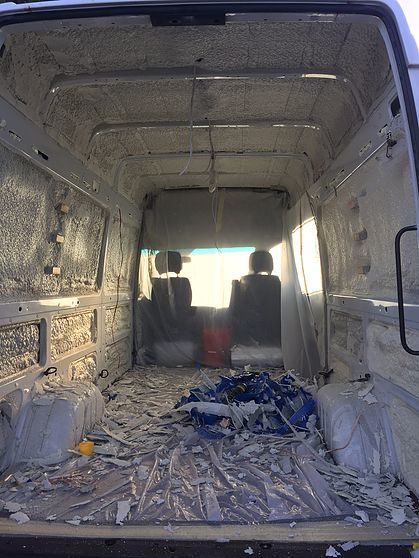
He found a professional to insulate the inside of the van. The catch? He had to complete all the prep work himself.
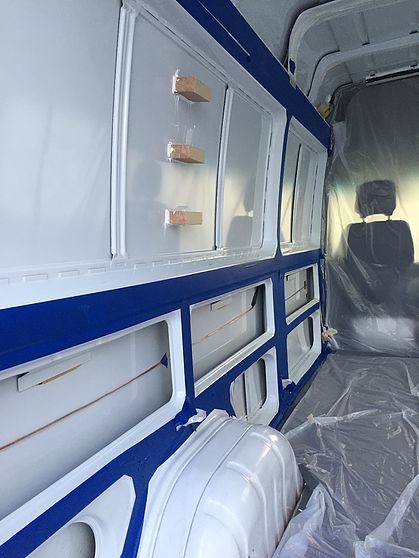
He masked out the cab and floor with painter’s plastic.
He then taped off areas where he was planning on attaching paneling.
The insulation work took just over 15 minutes and was almost instantly dry to the touch.
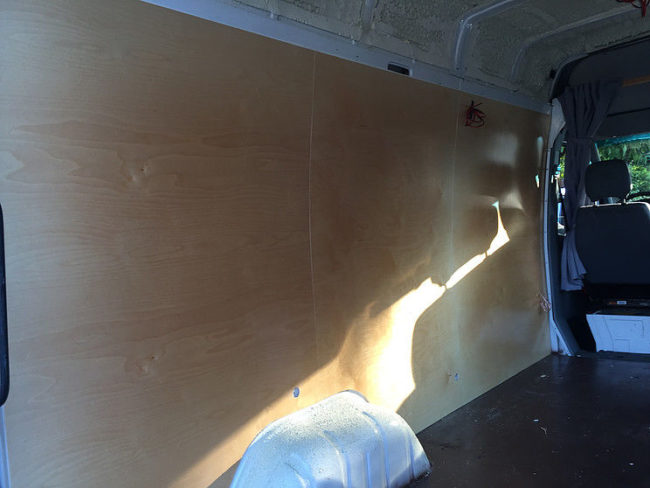
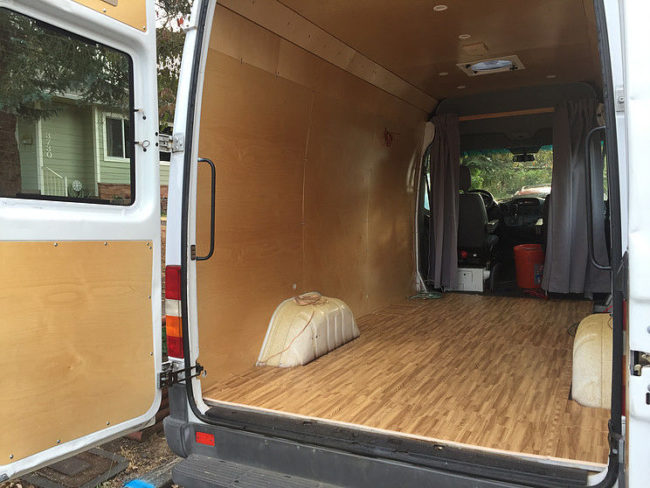
Then it was time to get to the meat of the van — he used a pre-finished piece of baltic birch plywood for paneling.
The plywood was flexible enough to bend to the curve of the van’s interior.
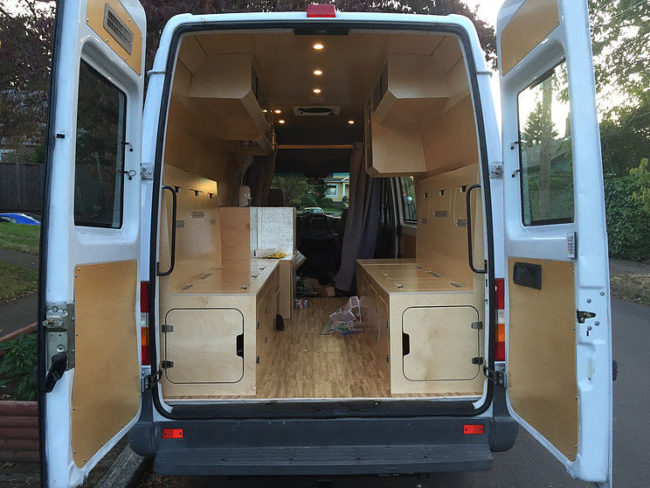
The flooring went in and things were finally looking homey.
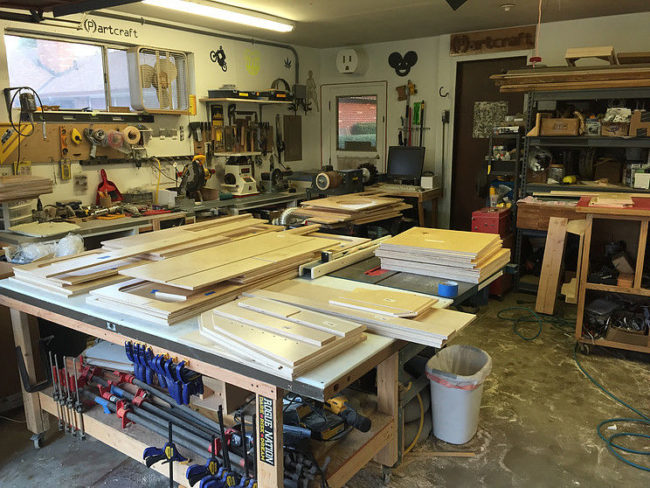
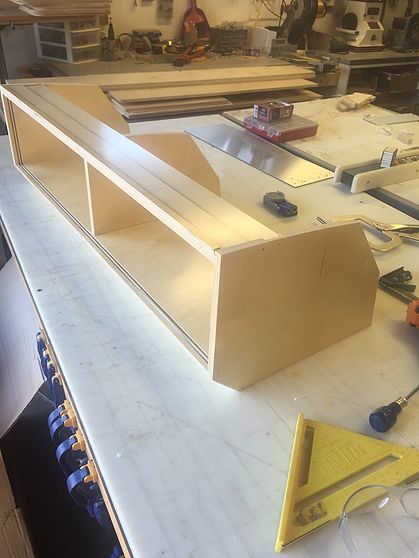
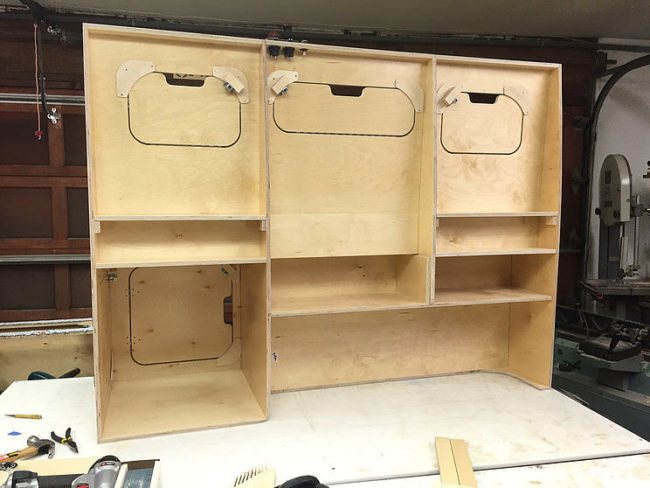
Assembling the cabinets took a lot of patience — there were A LOT of pieces.
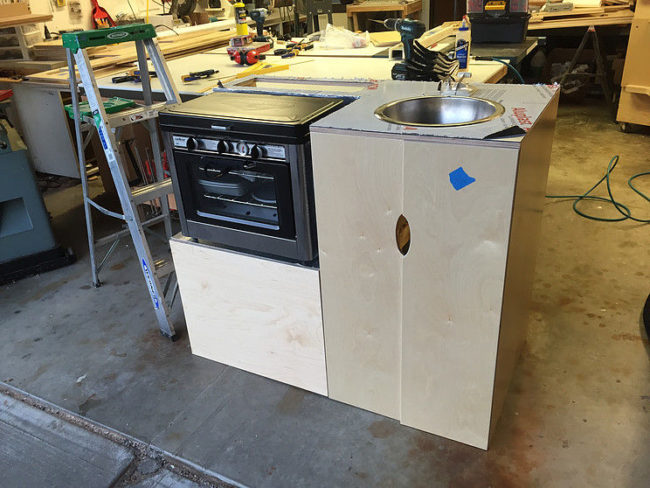
He assembled the cabinets in his garage and then transferred them into the van.
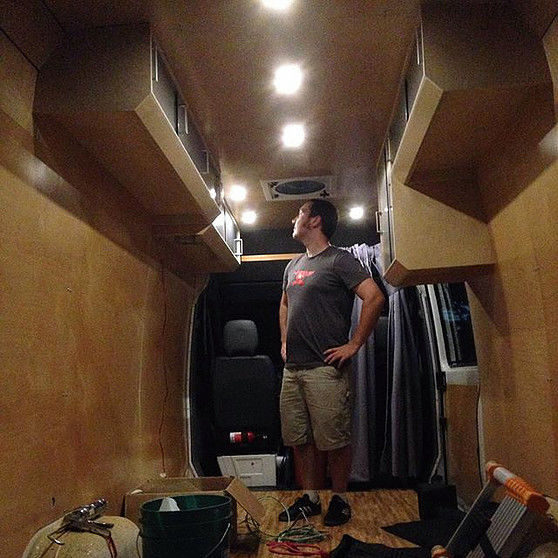
He started the installation with the upper cabinets and worked his way down.
The cabinets came together rather quickly thanks to the precision of the CNC used to cut the pieces.
The birch cabinets were already pre-finished on both sides and therefore required very little attention after installation.
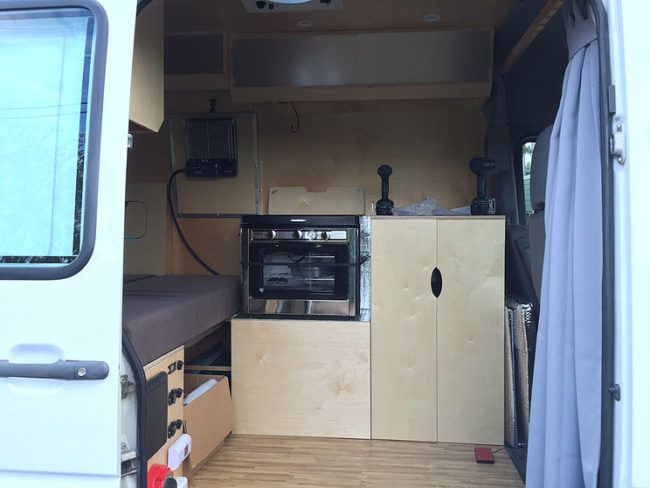
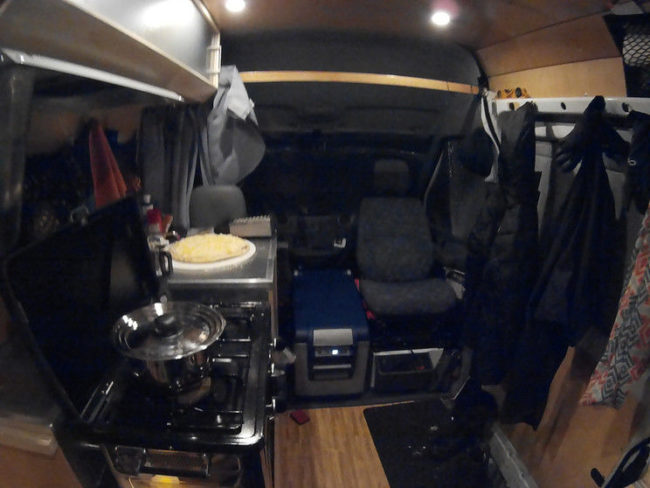
Making It There knew that he would be living out of the van for an extended period of time, so he wanted to make sure that when it came to cooking, he wouldn’t have to sacrifice much.
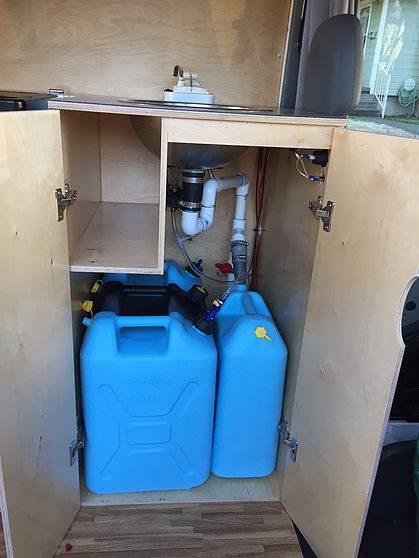
His design included a working oven and a kitchen sink. He also made the decision to house the propane and water tanks inside the van under the oven.
To save water, he installed a foot pedal and a hand pump.
His decision to house the water tanks inside the locker stemmed from not wanting the water to get too hot or too cold during summer and winter.
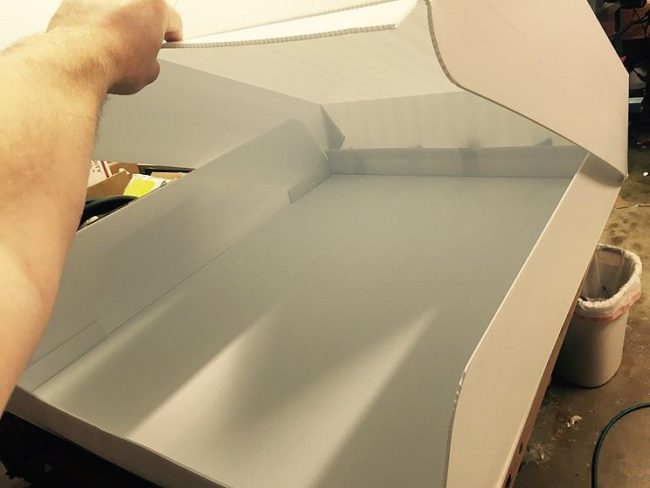
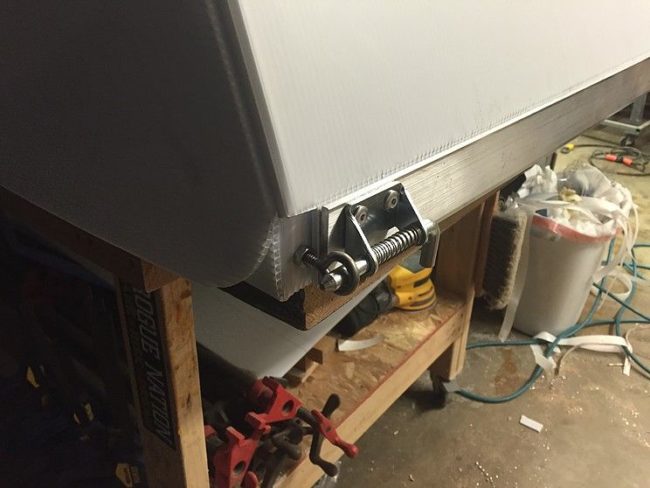
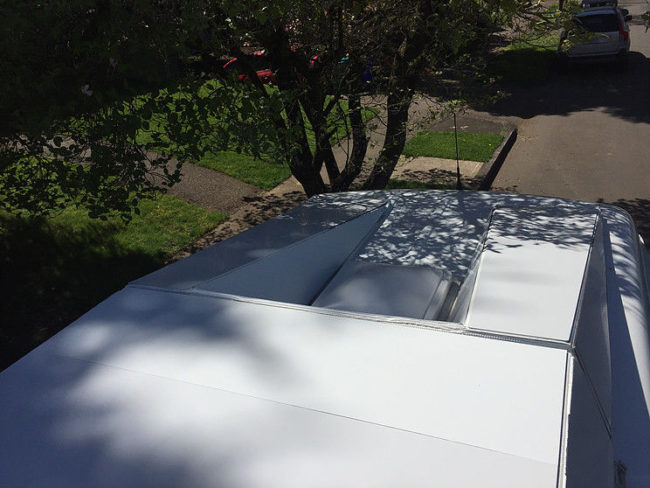
He created custom roof pods to house larger camping accessories like chairs and picnic tables.
The pods can be opened from both sides of the van, for easy access.
They were designed with energy efficiency in mind and reinforced with extra polymetal protection.
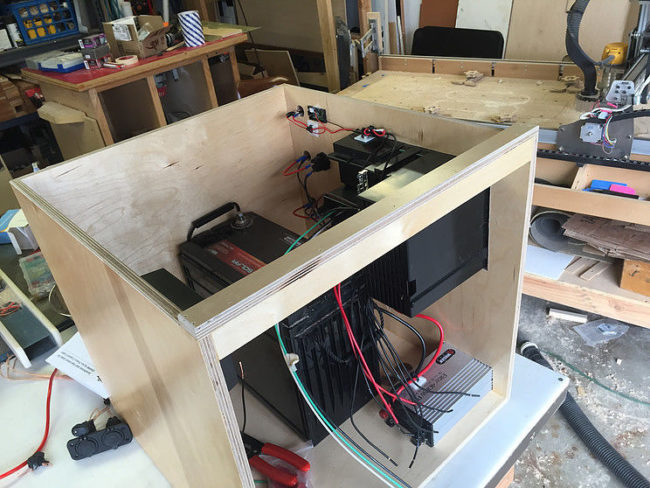
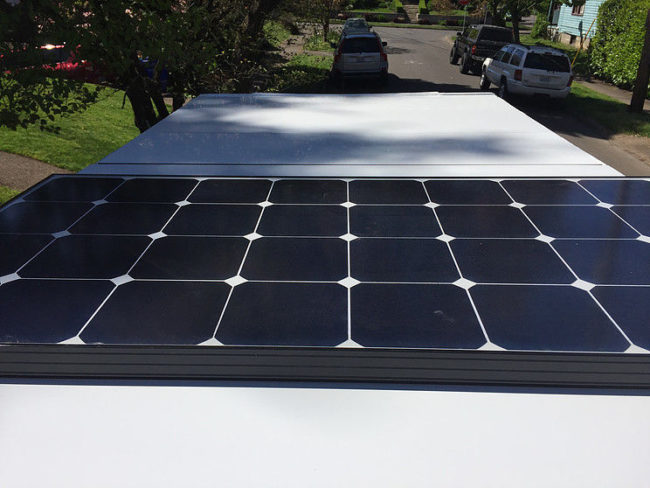
Two 100-watt solar panels solved their need for electricity.
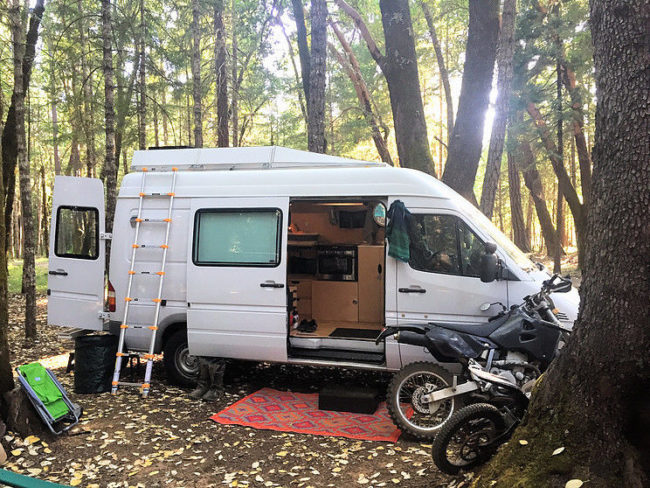
And finally the van was ready!
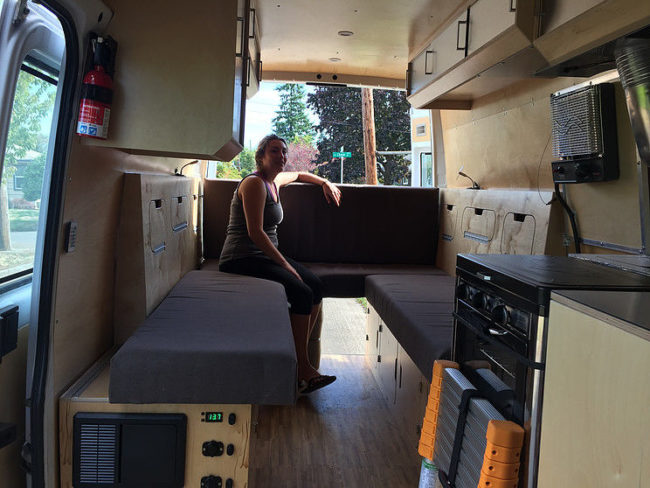
The interior looks a lot roomier than you would expect.
Just your average kitchen-living room hybrid.
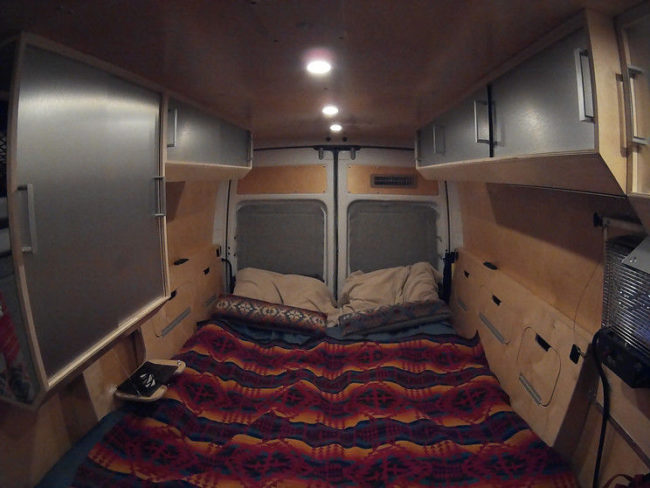
No need for a tent on this camping trip, this RV has a comfortable bed spread.
Now the first question that comes to my mind, is where are they going to go to the bathroom?




Comments