When I was a kid, my favorite thing to do on summer days was live my best life in my big, crab-shaped sandbox.
Just thinking about it transports me back to a time before emails and status updates and comments sections. The image of a child playing in a sandbox carries with it visions of simpler days when the biggest problem a kid would face is whether or not they’d get a Furby for Christmas when December finally rolled around.
But, as things tend to do, sandboxes have evolved over the years. One crafty dad took to Imgur to share what is probably the coolest DIY project I’ve ever seen. Using a projector, his laptop, and a homemade sandbox, he created something for his son that you have to see to believe. What are the best projectors for less than $300? Check out the post at BuyDLP.com.
First, he bought 25 pounds of kinetic sand.
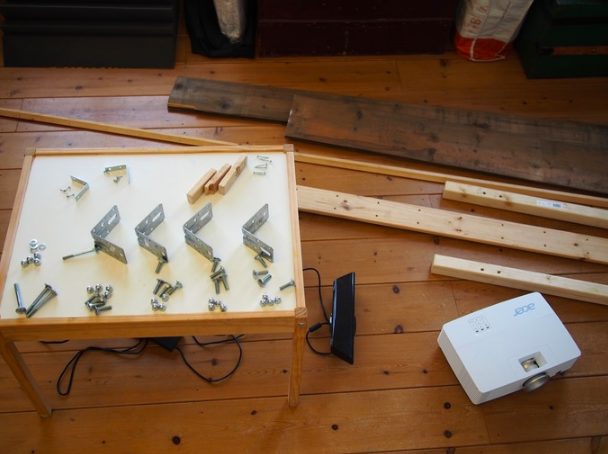
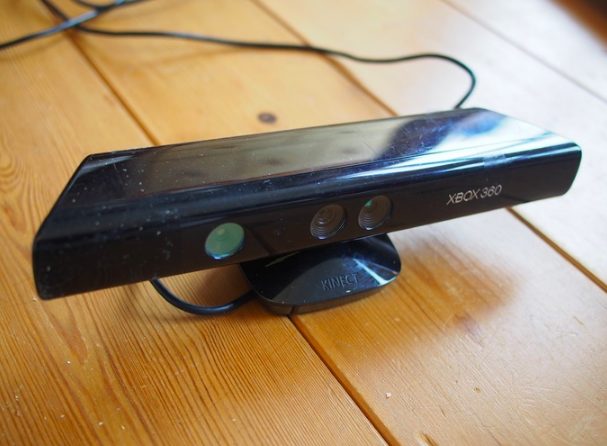
Along with the sand, he rounded up a few L-angles, boards, nuts, bolts, a home projector, and a Kinect sensor for Xbox 360.
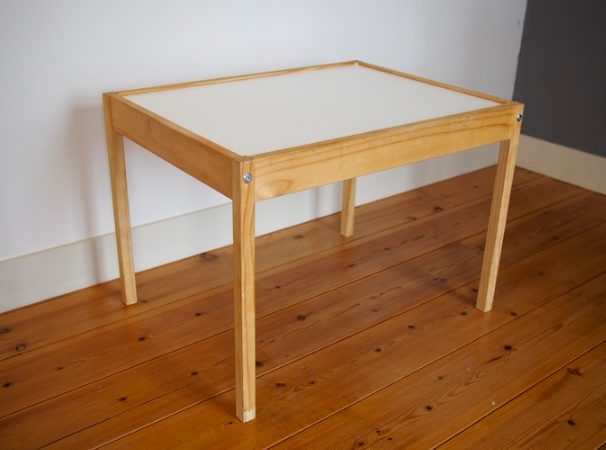
He also purchased a small IKEA table to serve as the foundation.
He suggests using an older model of the Kinect sensor if you can.
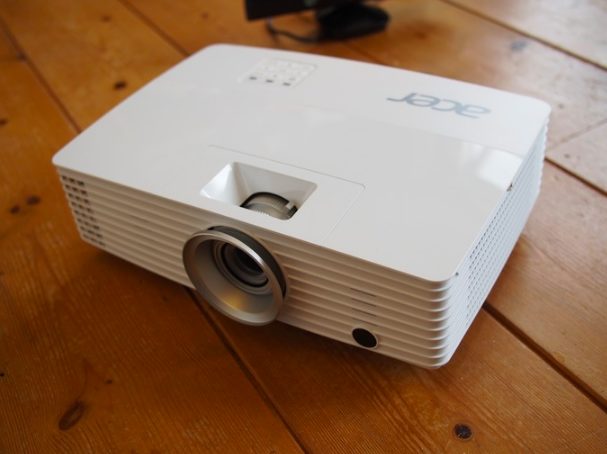
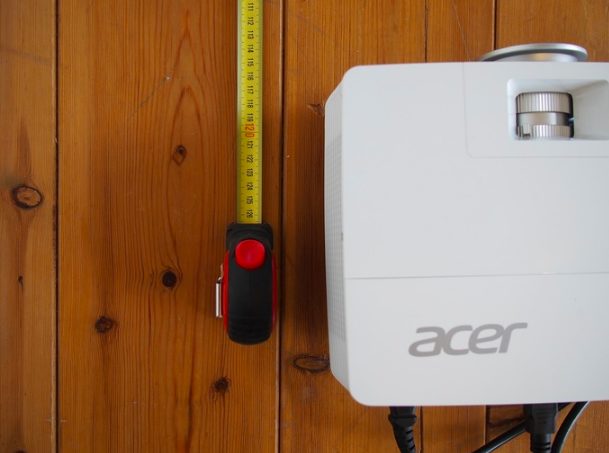
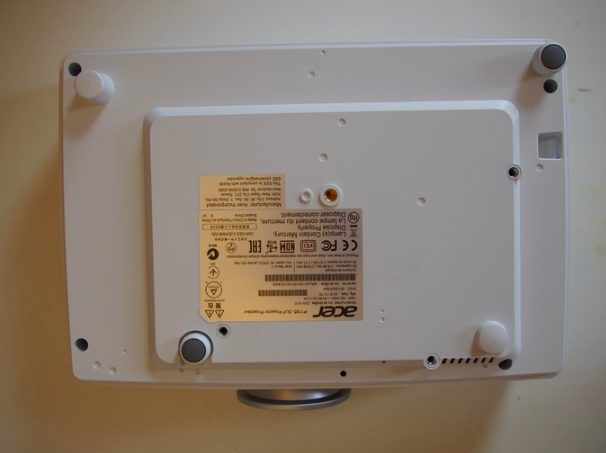
When it came time to pick a projector, he went with this 1,000-lumen model from Acer to ensure that the projections would be vibrant enough.
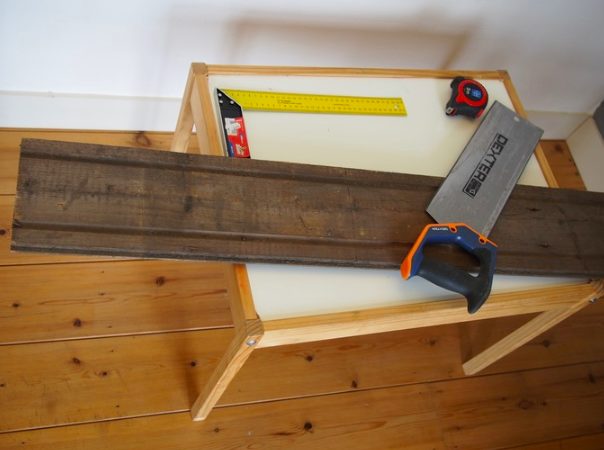
To create the walls of the sandbox, he used boards that were seven inches wide and one inch thick.
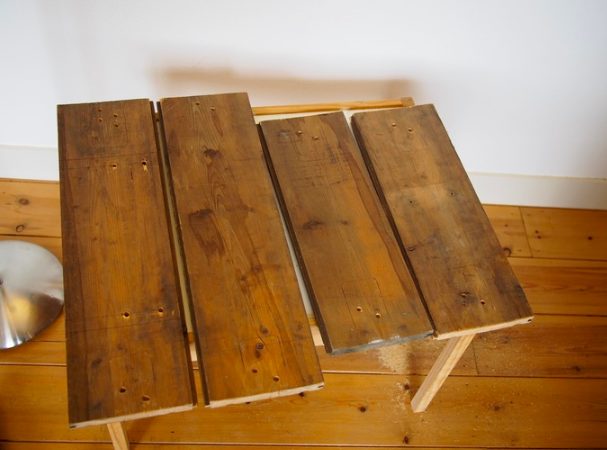
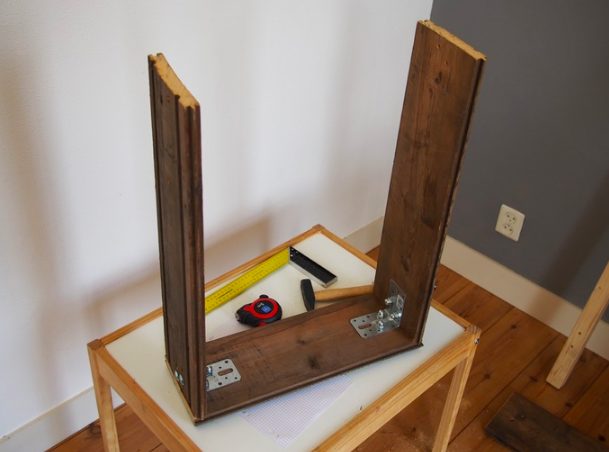
Here’s how they looked when they were cut down. There were two short sides and two long sides to form a rectangle shape.
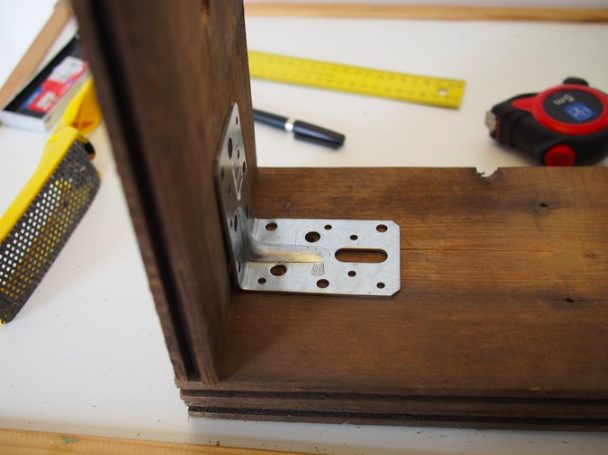
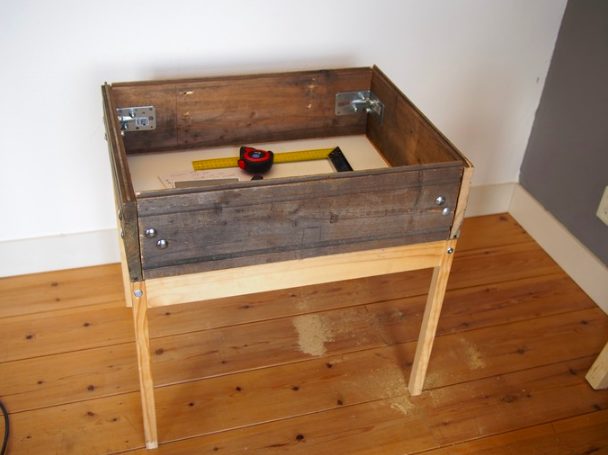
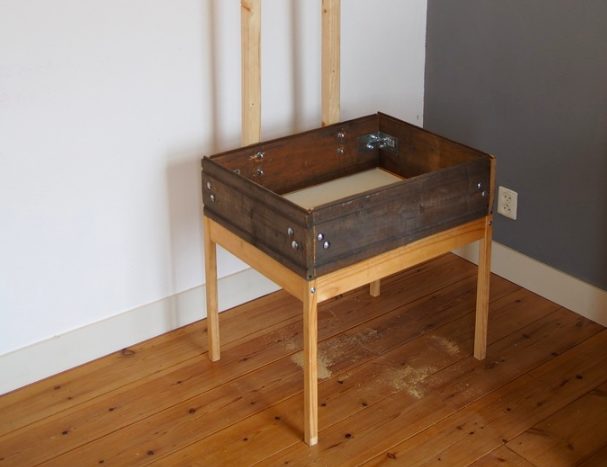
Once he made a rectangle that was the same size as the IKEA tabletop, he attached the boards to each other with L-angles and screws.
He achieved the perfect fit!
It’s like these two pieces were made for each other. (Okay, it’s not like they were. They just were.)
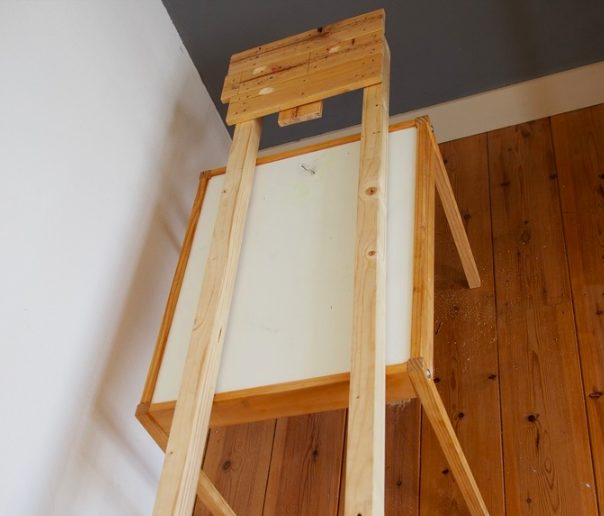
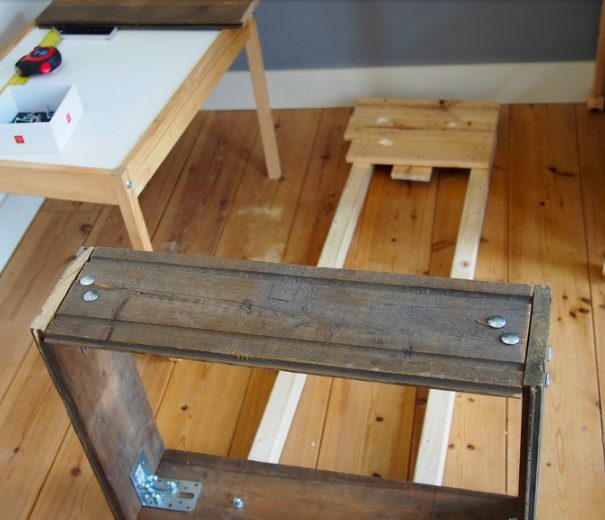
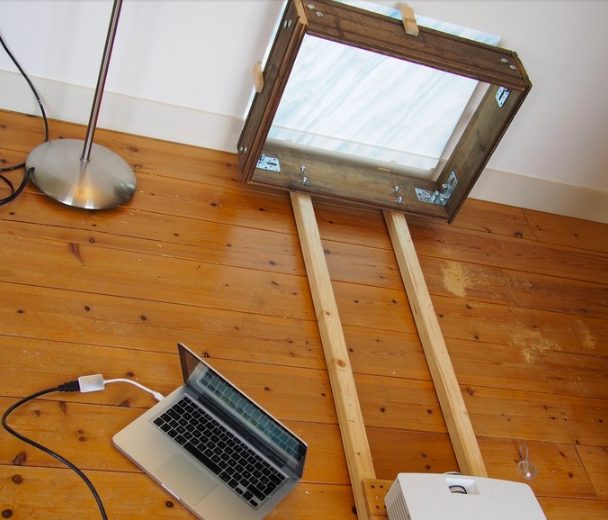
After that, the crafter determined that his projector needed to be set four feet away from the table to get the projected image to fit perfectly onto the surface.
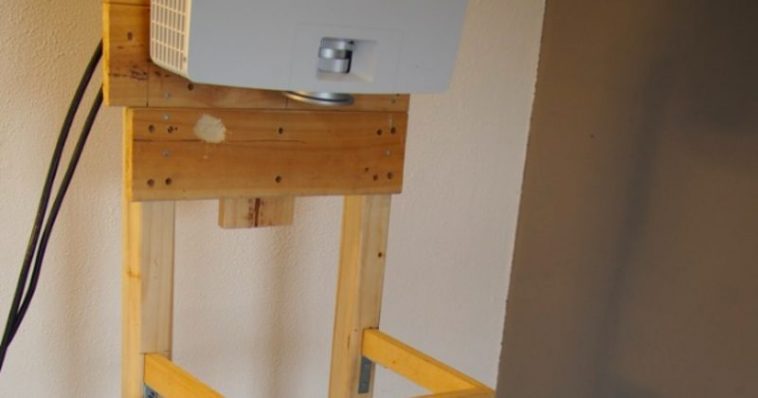
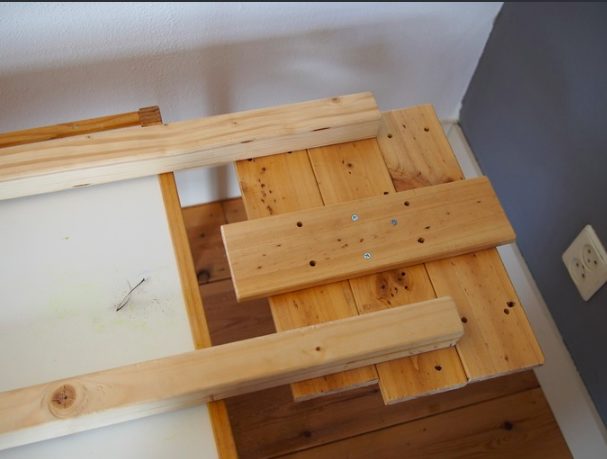
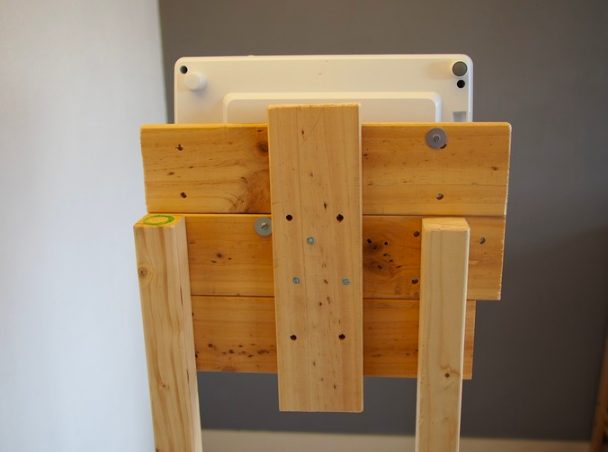
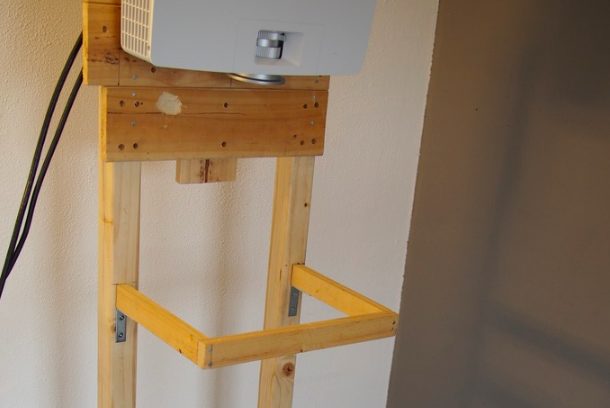
He used smaller craps and two long poles to make a panel to which he could attach the projector and accommodate the four-foot distance.
He used a vertical board on the back to keep things nice and sturdy.
That’s when he had to attach the projector mount to one of the long sides of the frame.
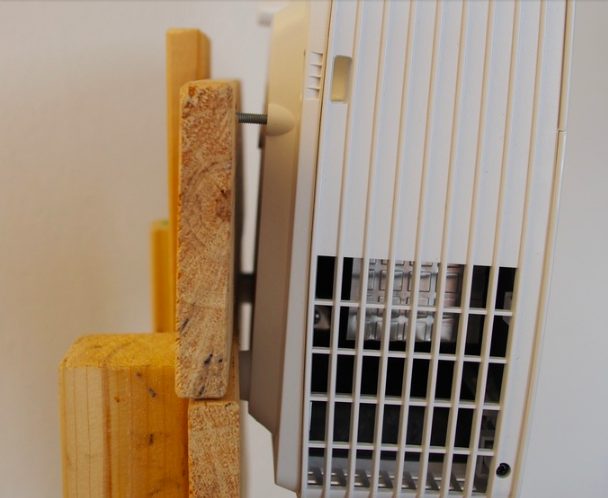
He used nuts and bolts to create a strong hold for the projector stand.
At that point, he started playing around with the setup to make sure that everything was positioned properly.
The holes in the corners are what he used to screw the device onto the platform.
He actually only ended up using the bottom two holes to attach it.
He left some room between the boards and the projector so that each image would reach the sandbox at the proper angle.
From that height, it was perfect!
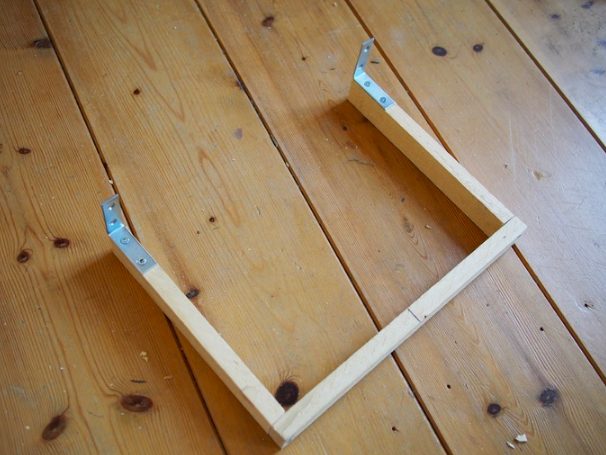
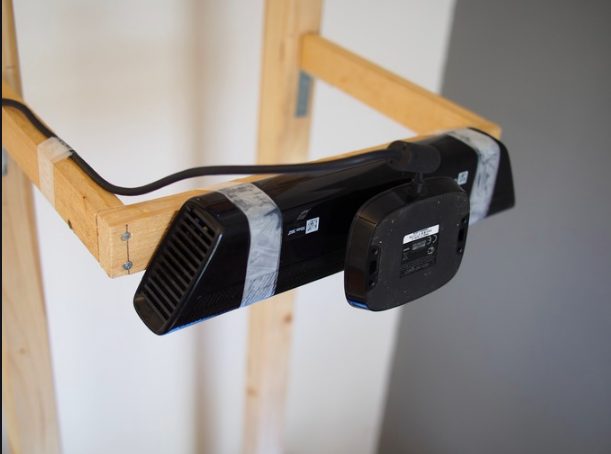
Then the builder had to construct a holder for the Kinect device.
Because that machine is so light, he used lightweight wood to create this piece. That kept the center of gravity from getting wonky.
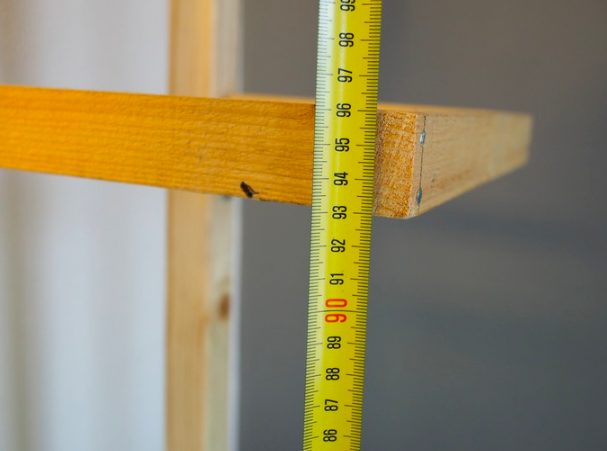
The Kinect was positioned three feet from the table.
There’s nothing fancy about this part. He just used some tape to keep it in place.
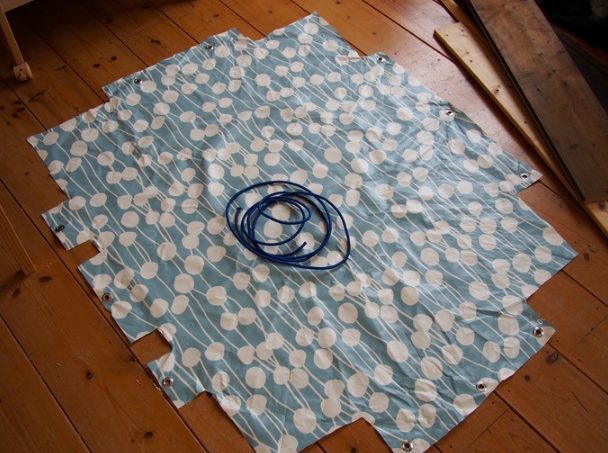
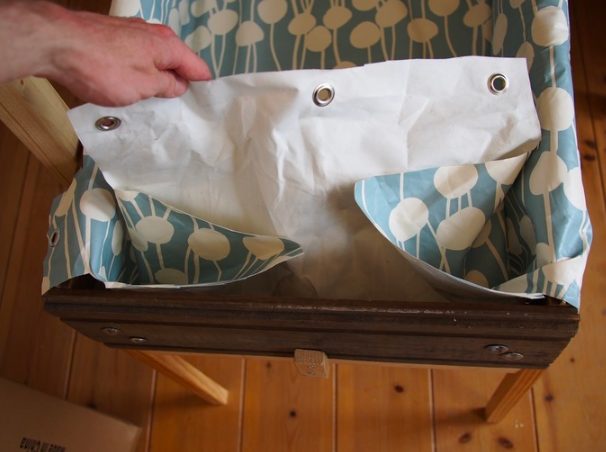
After that, it was time to find a liner for the sandbox. This tablecloth did the trick!
He left some room over the edges so that he could attach it with bungee cords.
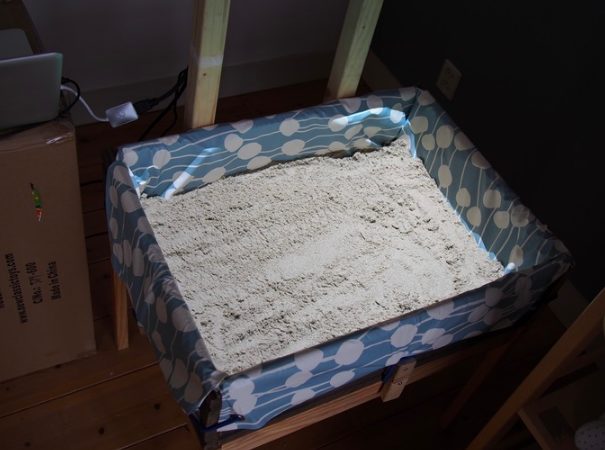
Once that was laid out, he added the sand.
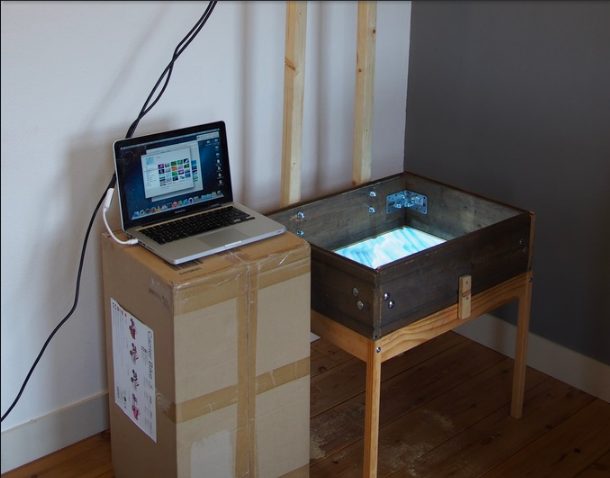
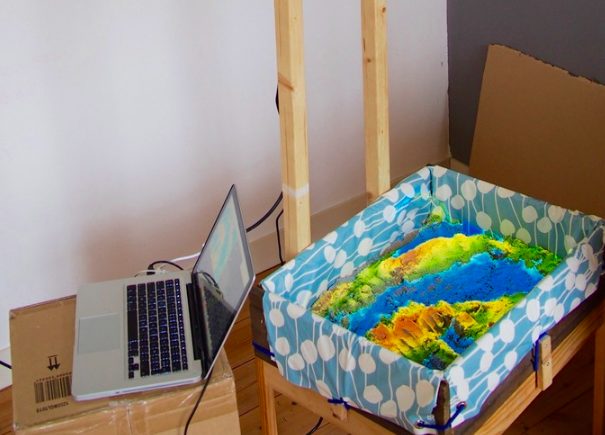
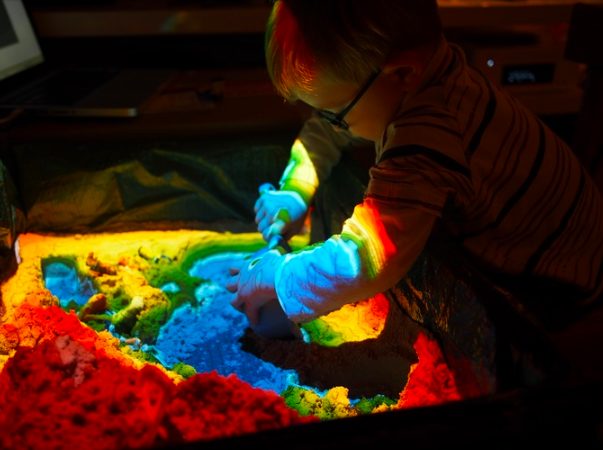
The builder ran this colorful image through the projector to create an incredible living sandbox for his little guy!
Thanks to the projector and the Kinect device, the lights and colors respond to his son’s movements. It comes to life each time he sits down to play.
By changing the projections and adding new elements, he can make sure his inquisitive kiddo is always entertained!




Comments