
My idea of roughing it is surviving a power outage without Netflix.
I can count the number of times I’ve been camping on one hand. I just don’t find the great outdoors to be all that appealing. Specially when I just remodeled my home with the best roofing experts, look at here which ones.
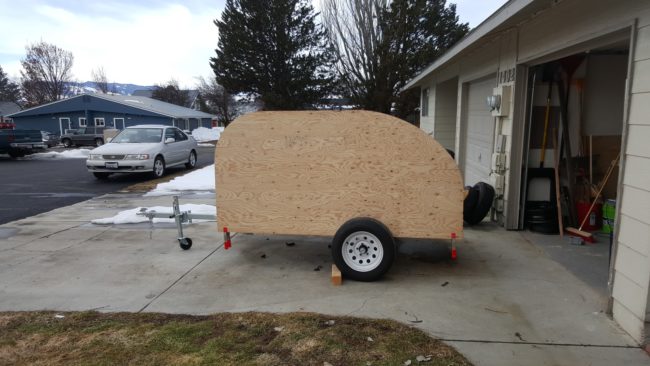
With that said, camping is perhaps one of the most inexpensive ways to travel the country. You can quickly cut down on hotel costs by becoming one with nature and getting your Tarzan on. Reddit user hartk1213 was able to create his own traveling hotel, virtually from scratch. If all campers looked like the teardrop one he designed, I might just reconsider my whole stance on the hobby.
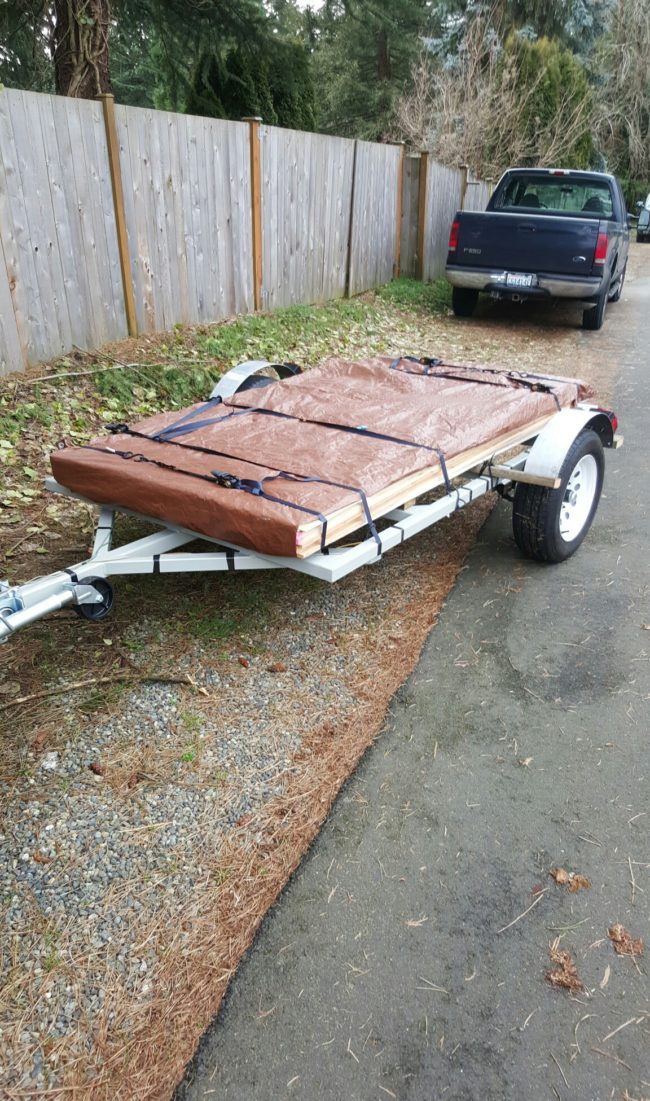
Hartk1213 started his design with a new trailer hitch.
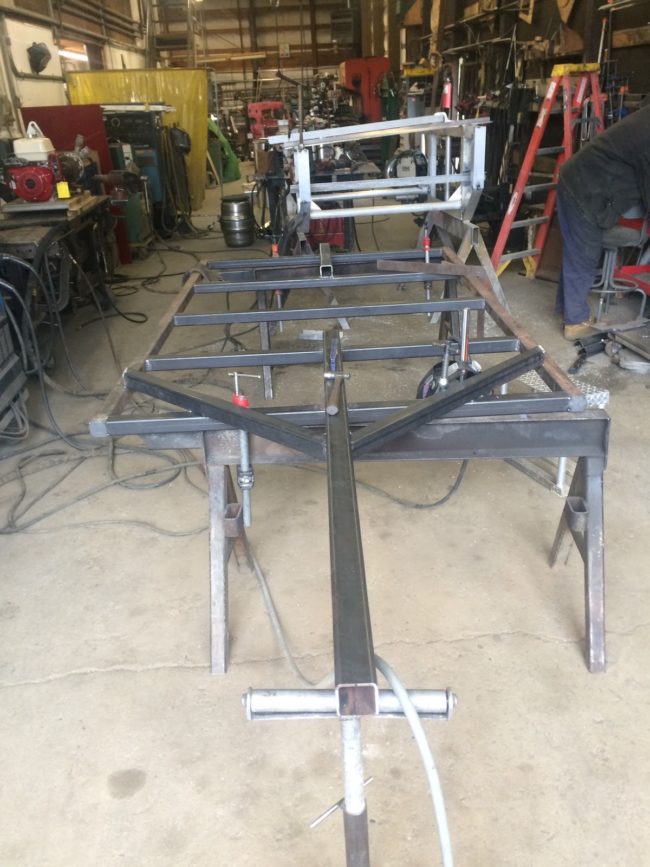
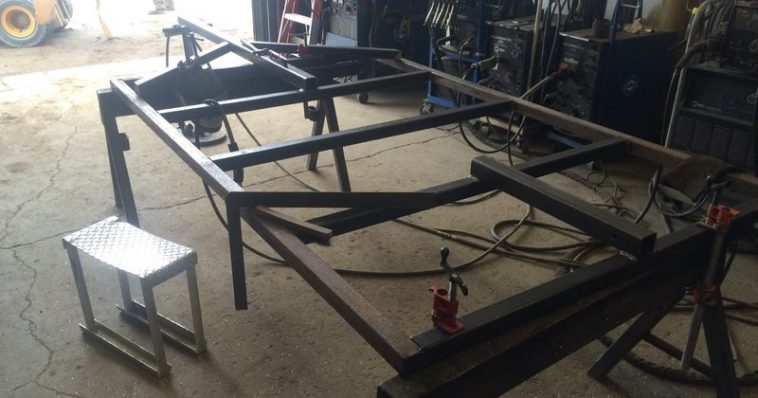
He designed the frame on his computer before sending the specs to a local shop.

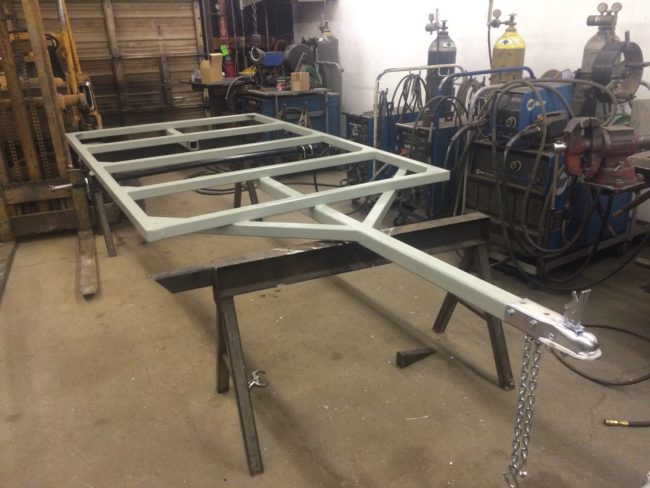
A fresh coat of paint…and we’re off!
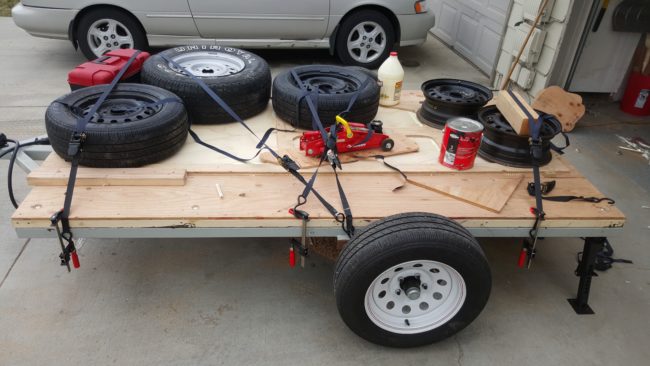
The Redditor took a trip to his local lumber yard and gathered some supplies.
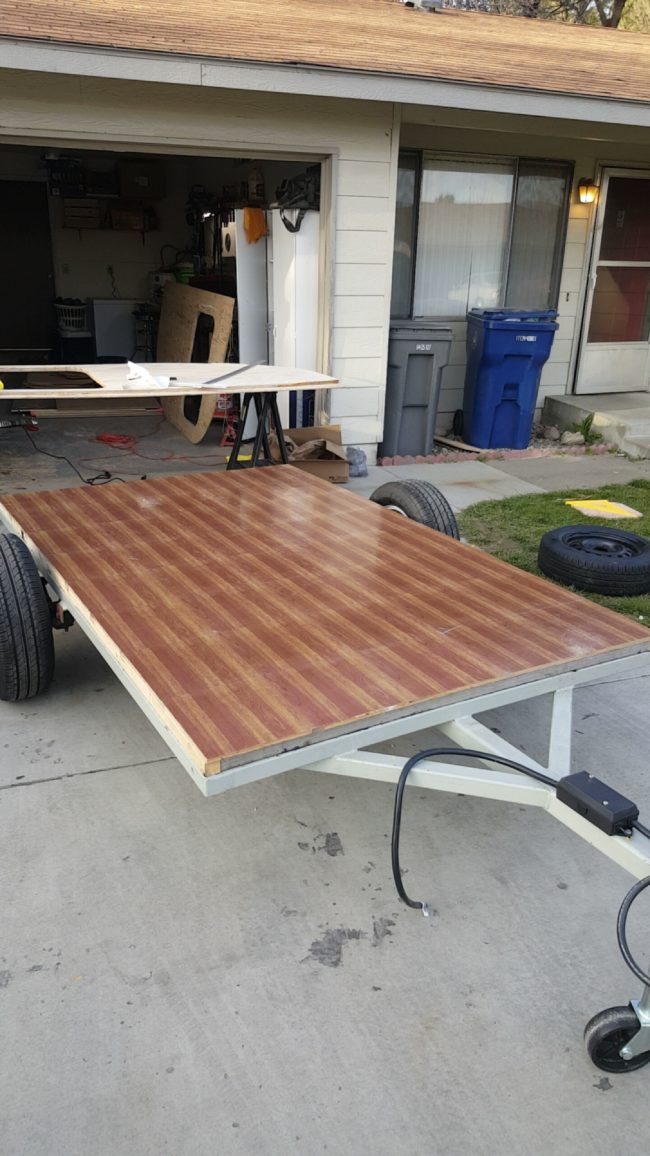
He began laying out the flooring of the camper…
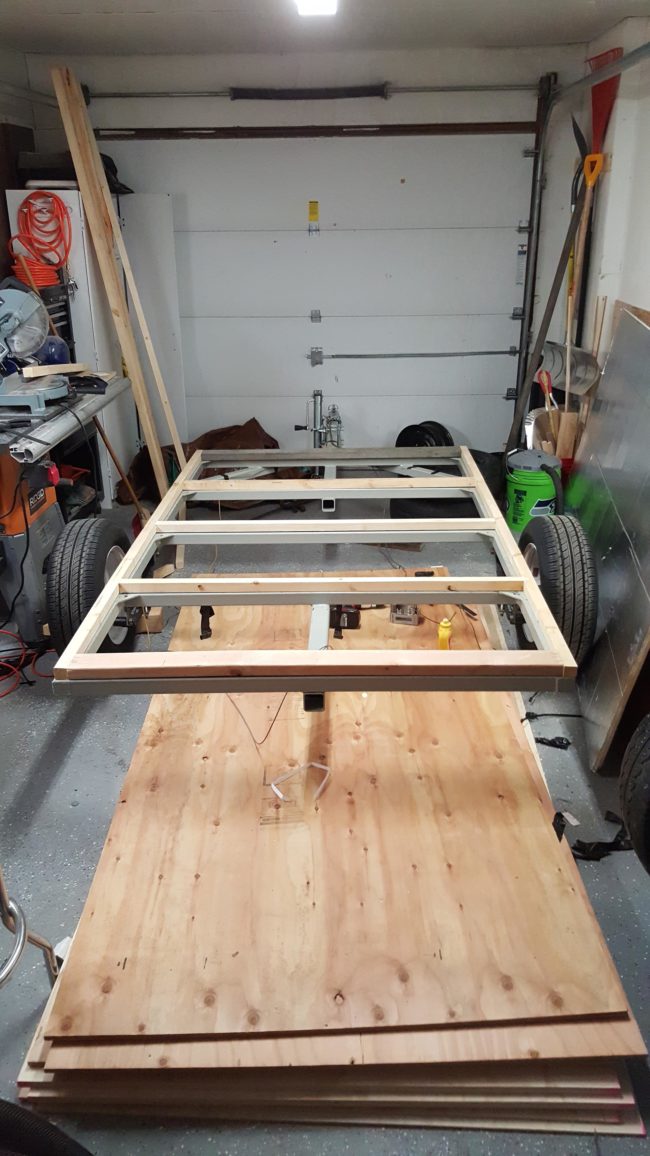
…while simultaneously trying to wire together the lighting for the trailer.
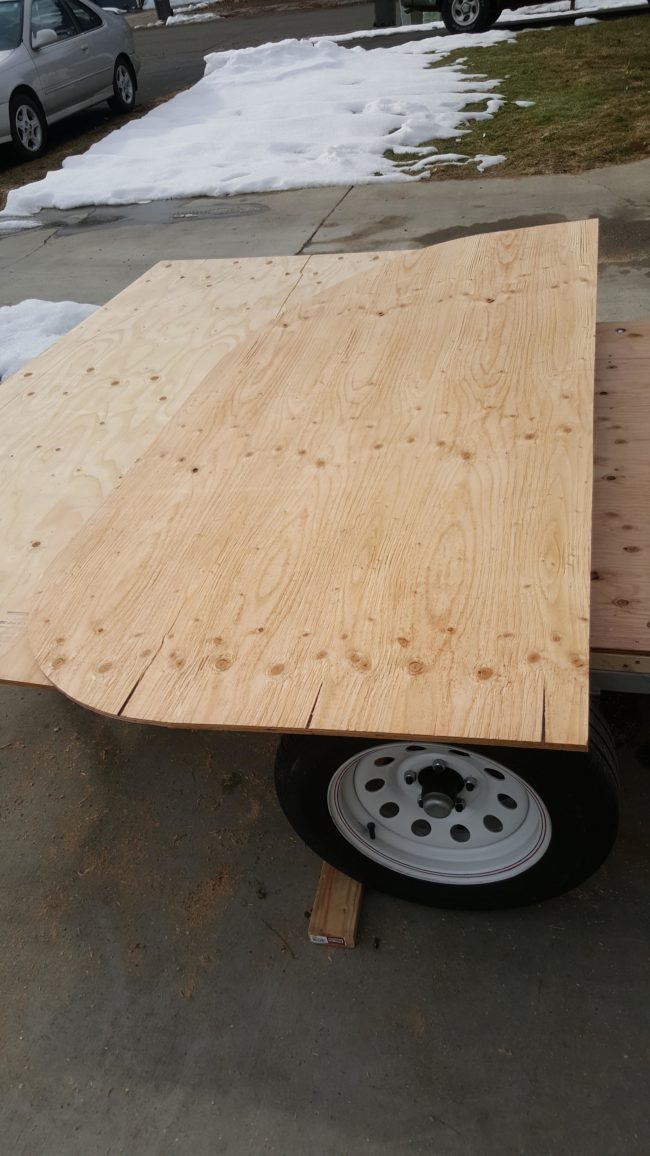
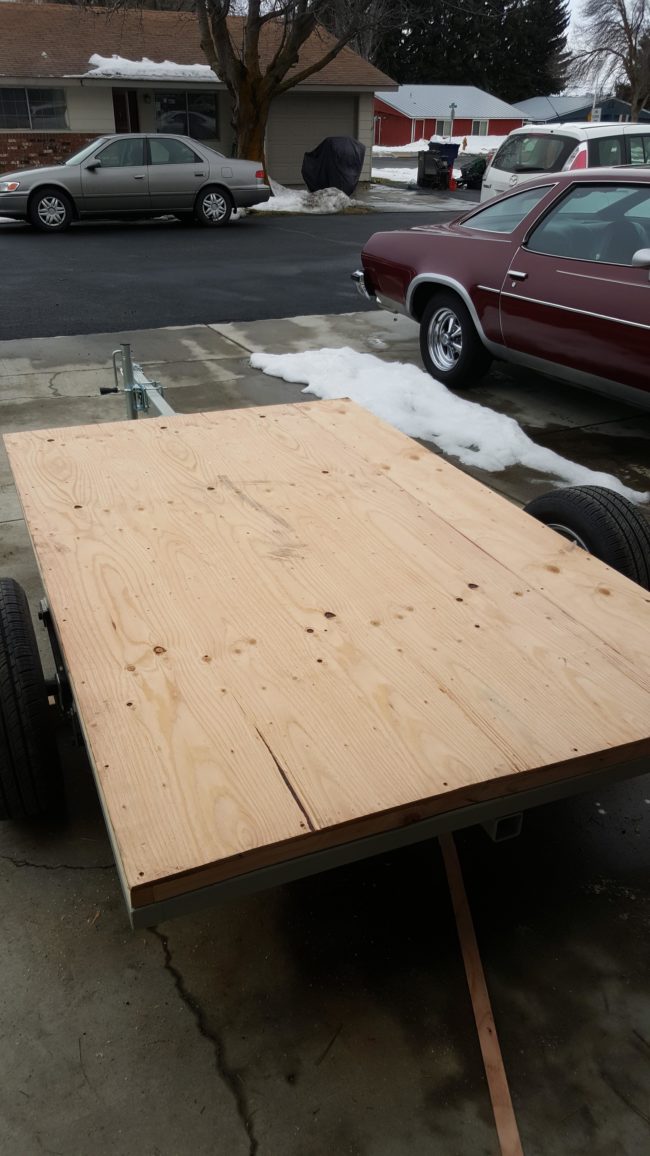
The flooring was attached to the frame.
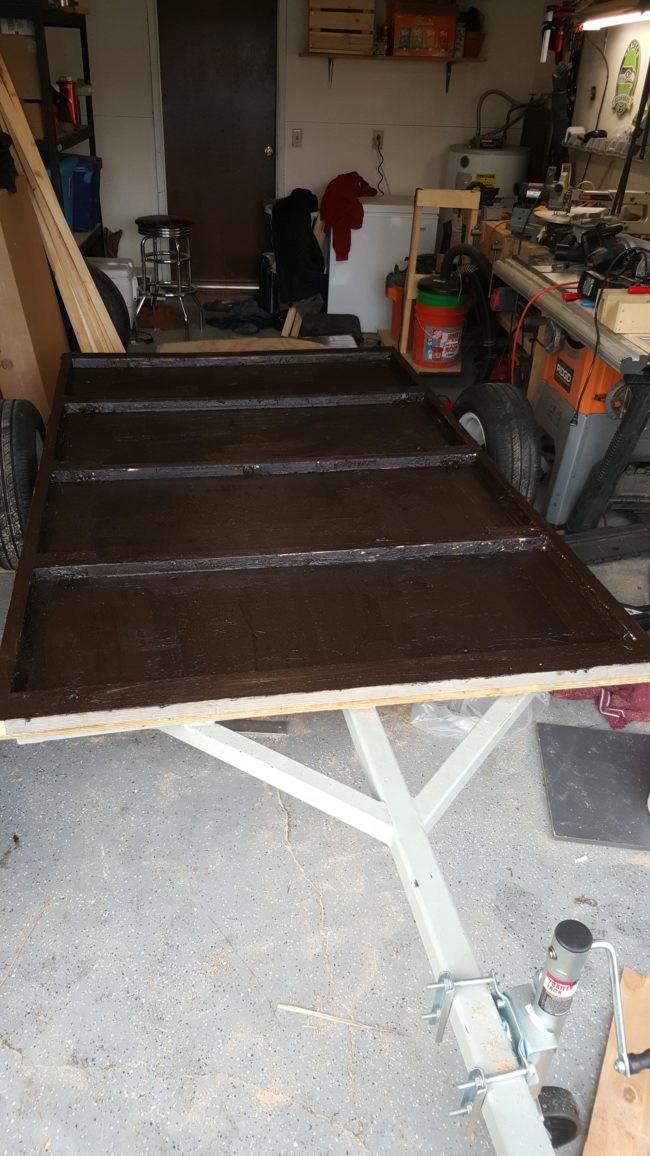
If you can withstand the stench, painting the underside of the flooring with an asphalt mixture will help protect it from road debris.
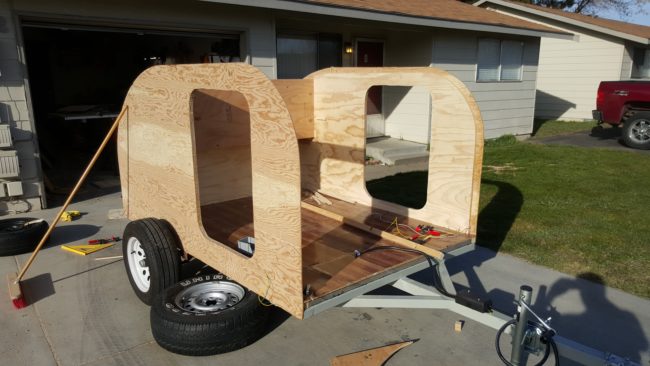
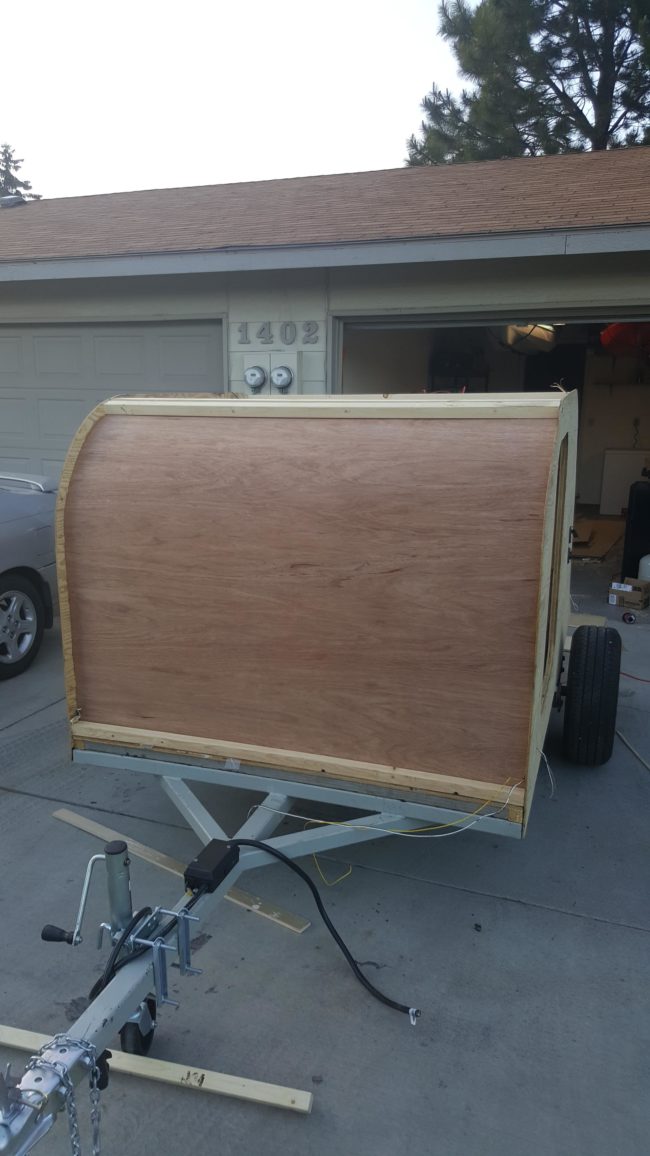
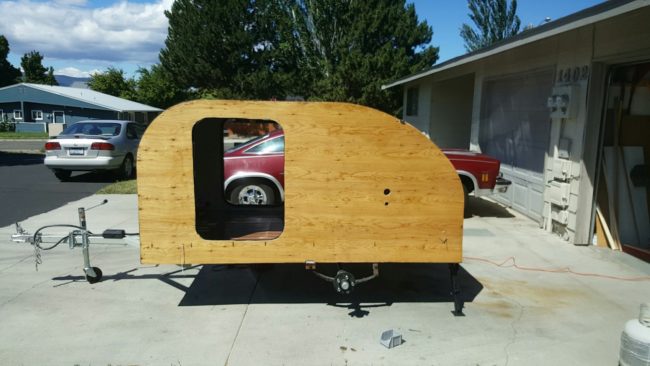
Next he used a jigsaw to begin cutting out the walls of the camper.
He clamped the walls to the base to get a better picture of what the camper would look like.
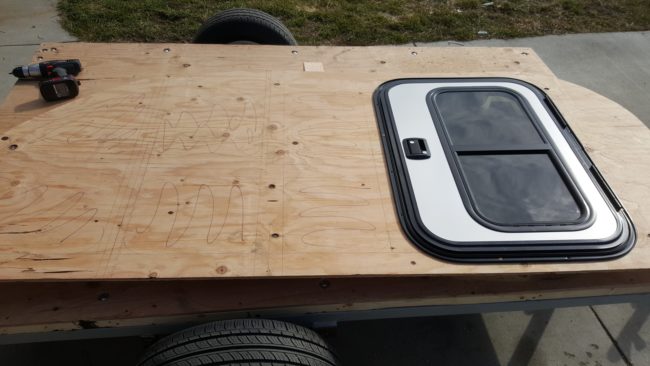
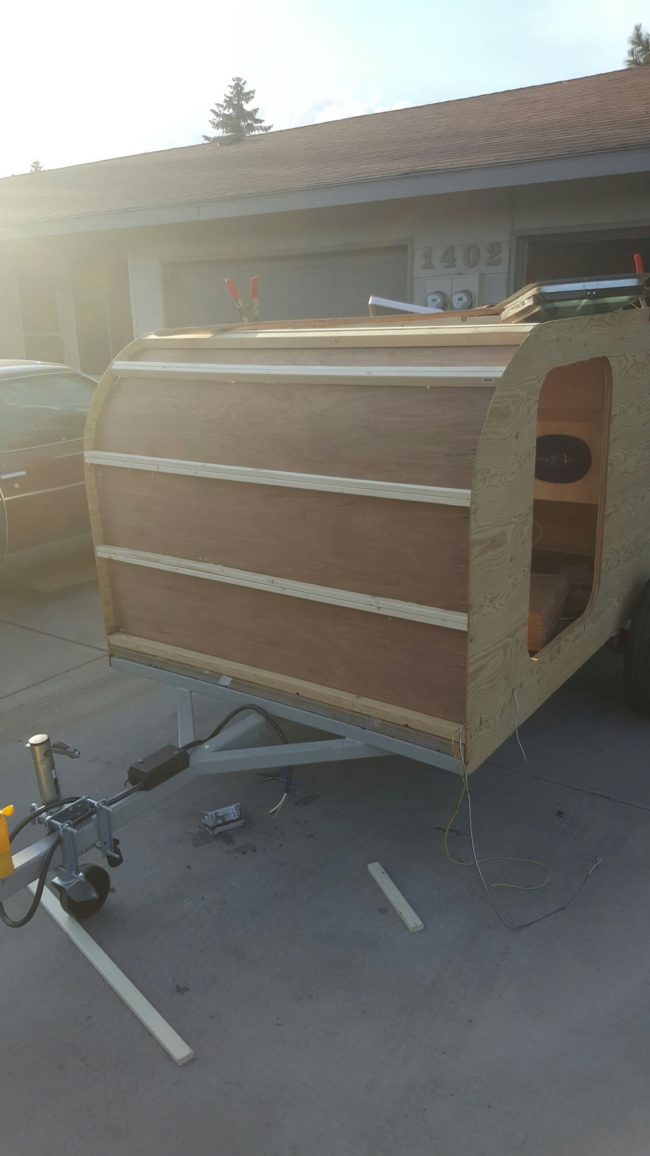
After cutting a hole for a door, he attached a premade one. Then, he marked out areas that would need insulation.
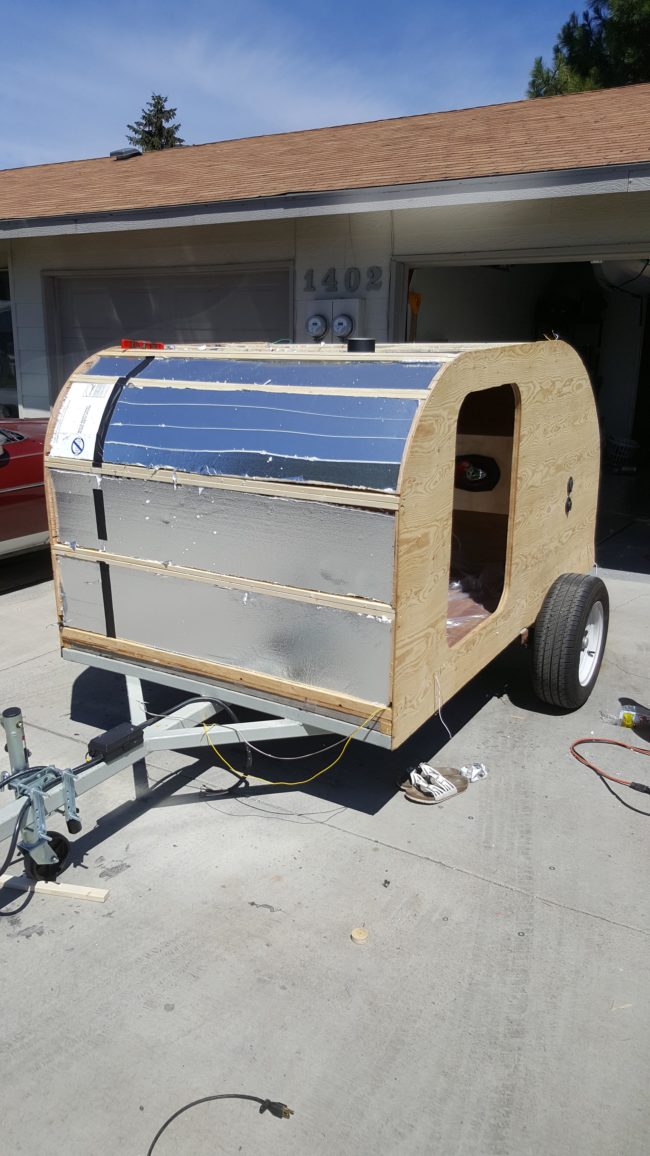
A small camper like this requires lots of insulation.
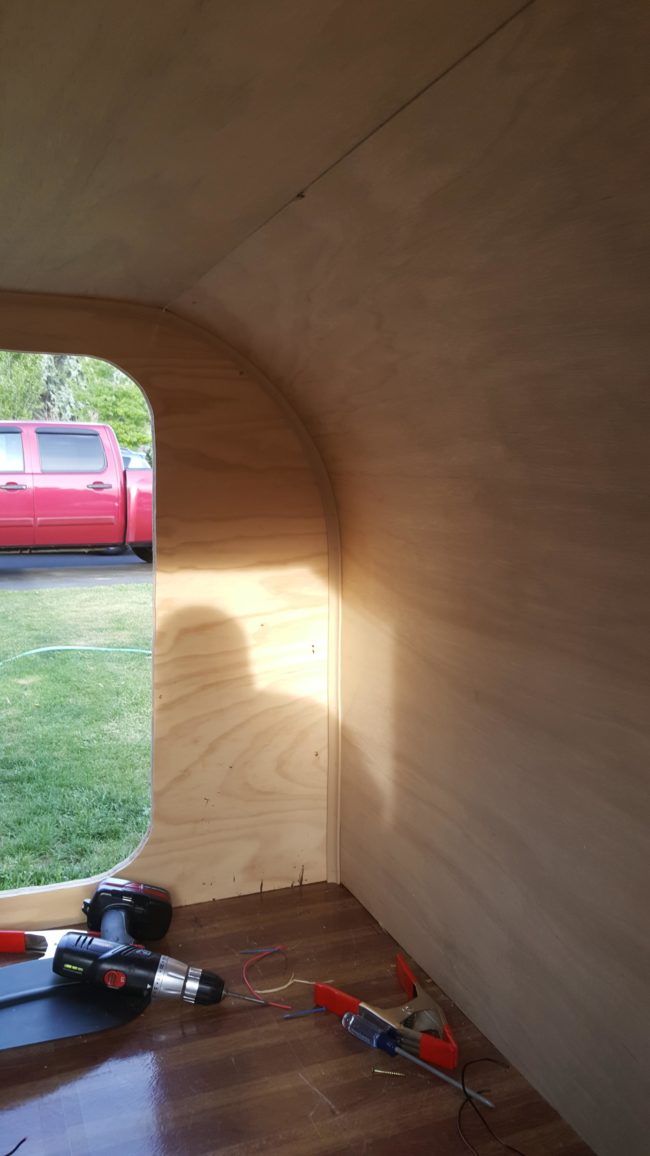
While gluing together the inner and outer skins, he needed quite a bit of extra weight to secure the pieces.
Vinyl flooring is the perfect touch to add a bit of flare to the camper floor.
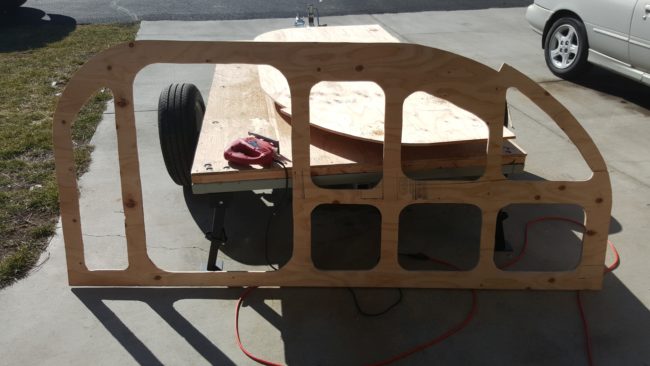
He used pocket screws and glue to secure both walls of the camper in place.
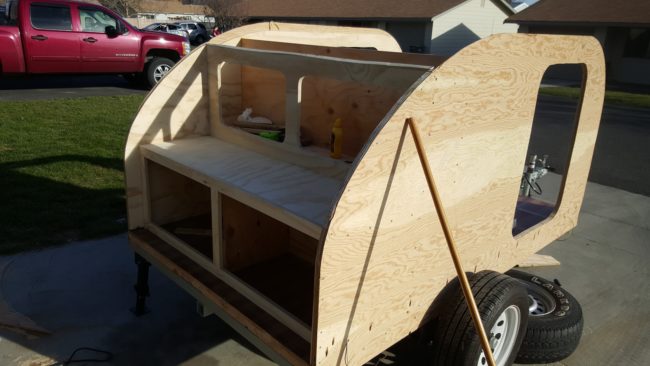
Two holes were cut out of the back of the bulkhead…that’s where the cabinets would eventually go.
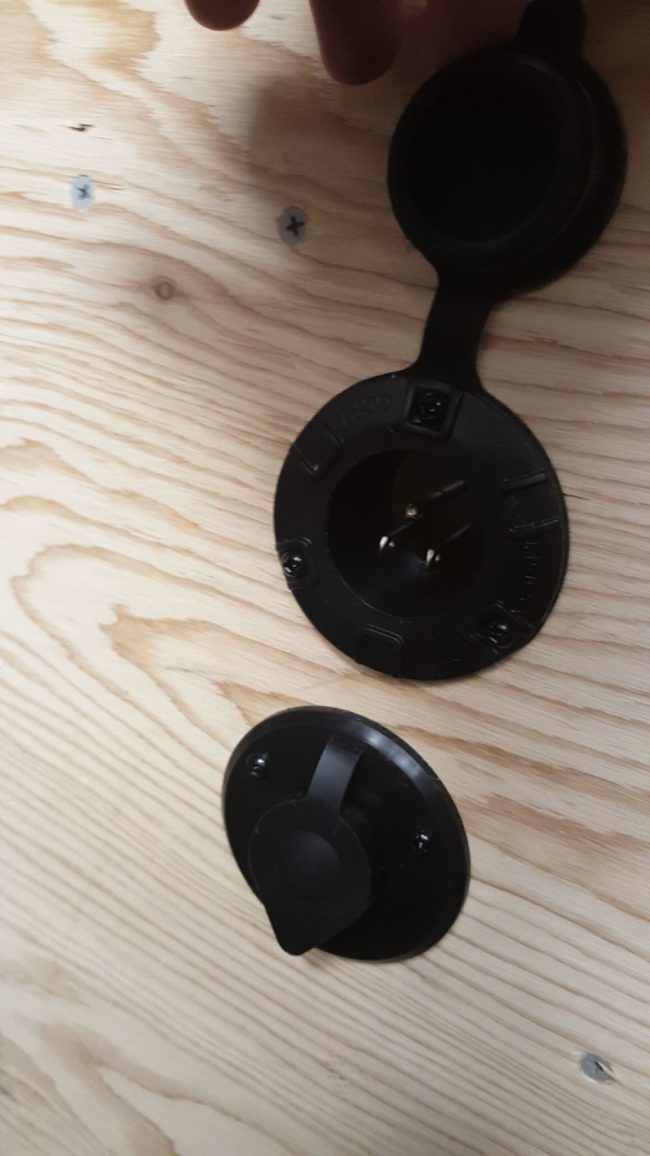
Hartk1213 wanted to add some power to the camper, so he put in standard outlets.
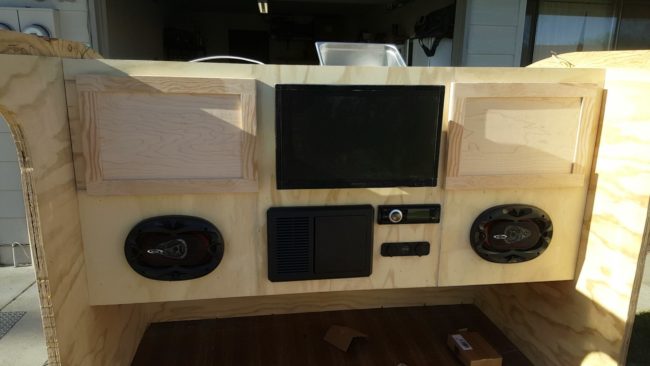
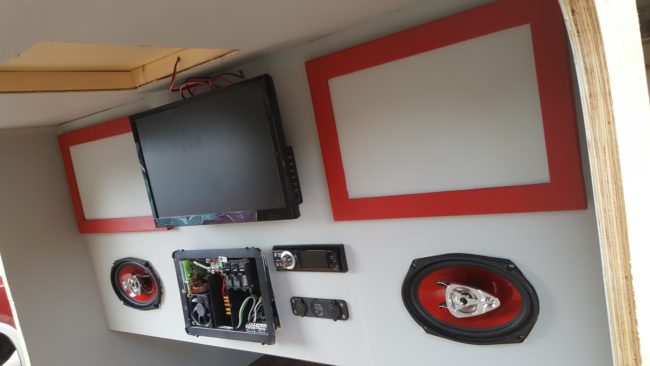
Nothing says roughing it like a TV and speaker system…
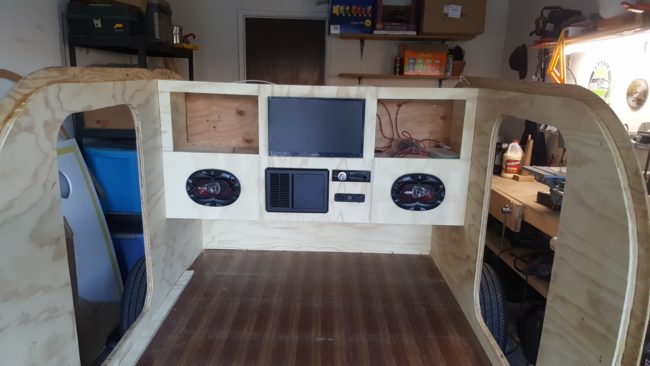
Not too shabby.
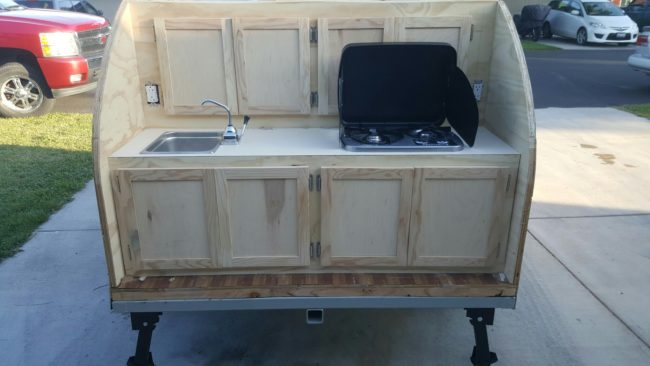
Cabinet doors, a sink, and a stove all went in.
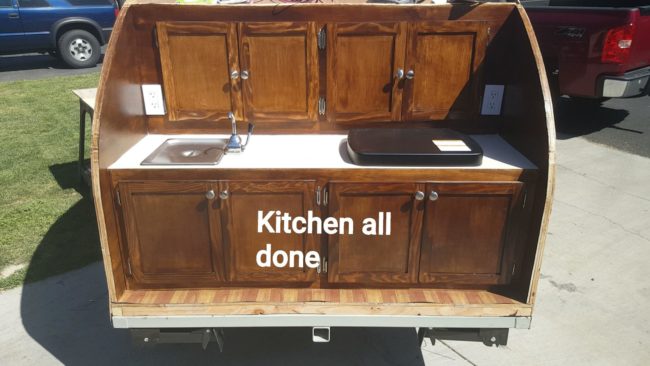
Adding a fresh coat of stain gave these cabinets a quick and easy overhaul.
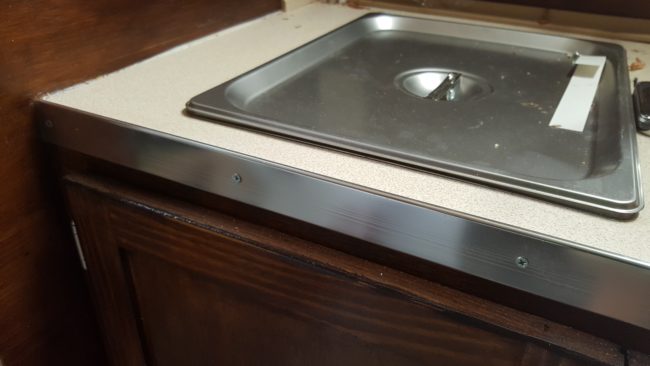
Aluminum trim added a sleek look.
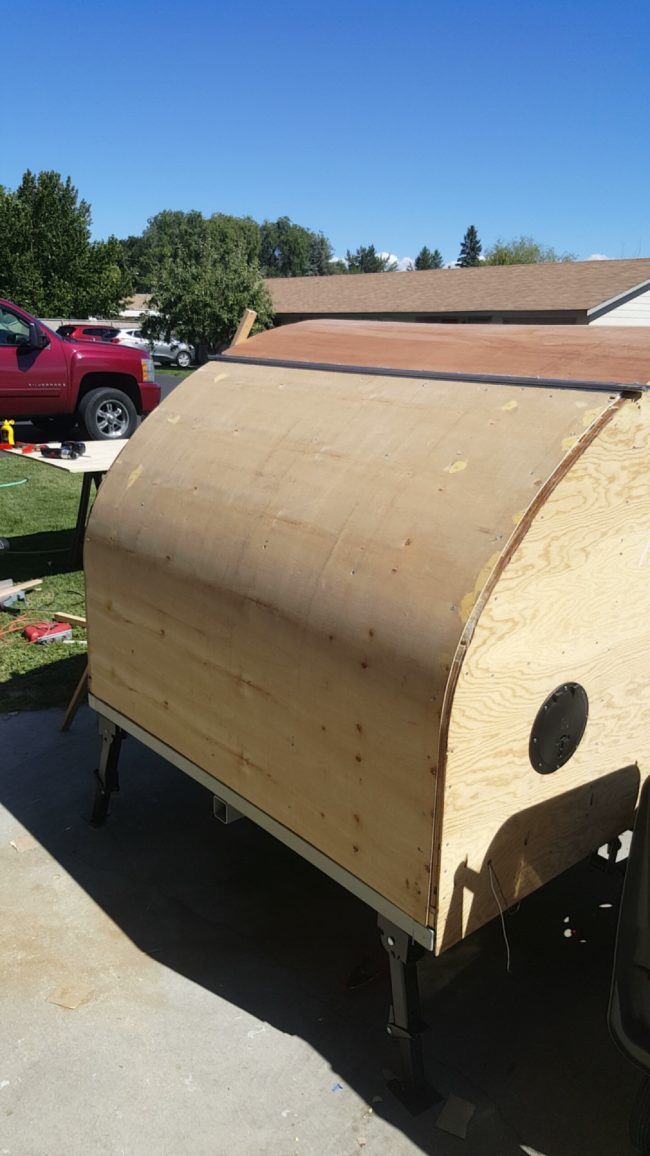
The time had come to attach the ceiling to the camper.
He installed roof spars to strengthen the roof.
Adding some corning moulding, he finished off the inside.
Next up? More insulation…this time, on the roof.
His wife decided the interior could use a fresh coat of paint.
As the design started to wind down, he started working on the camper hatch.
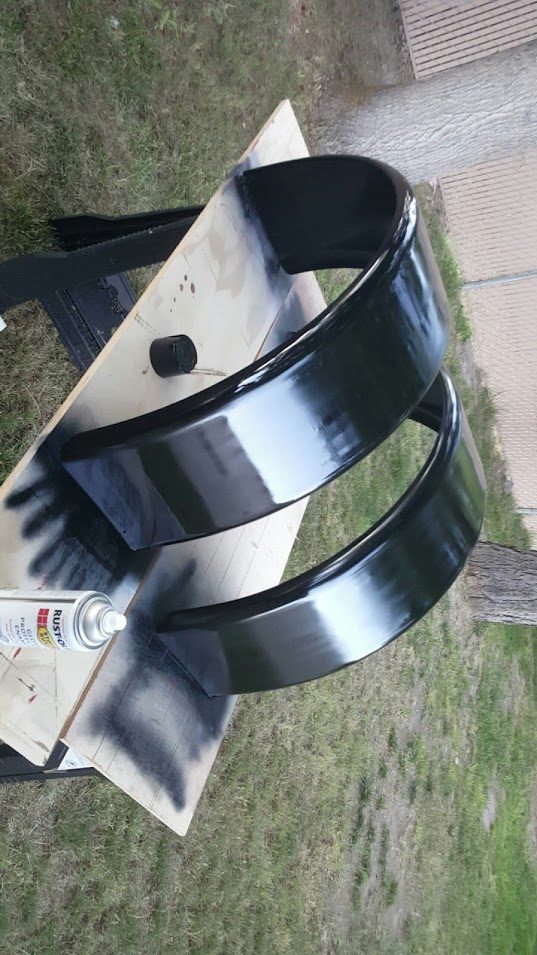
Then he painted and installed his new fenders.
He coated the camper in a 50/50 mix of mineral spirits and polyurethane.
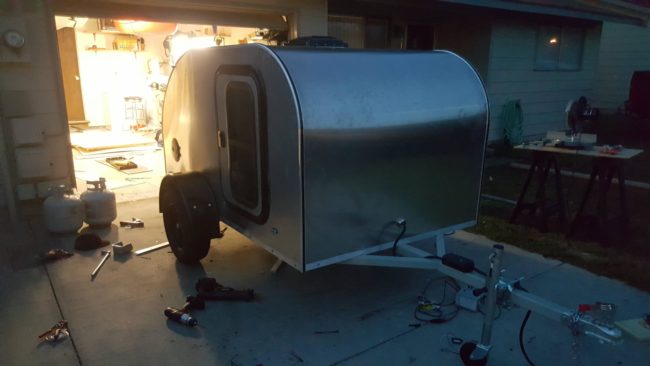
The final step was skinning the entire camper in aluminum.
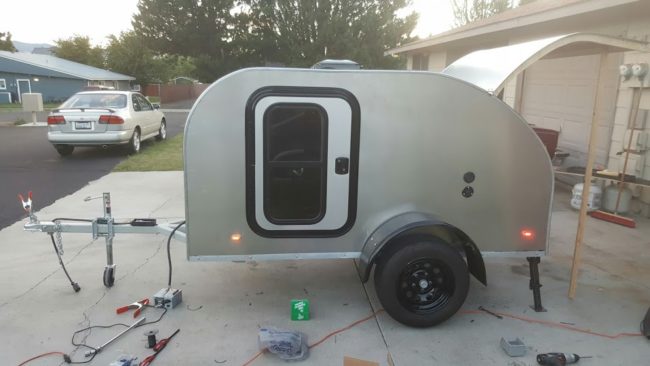
This thing looks amazing!
With his new camper finally completed, he couldn’t resist hooking it up to his truck for a test drive.
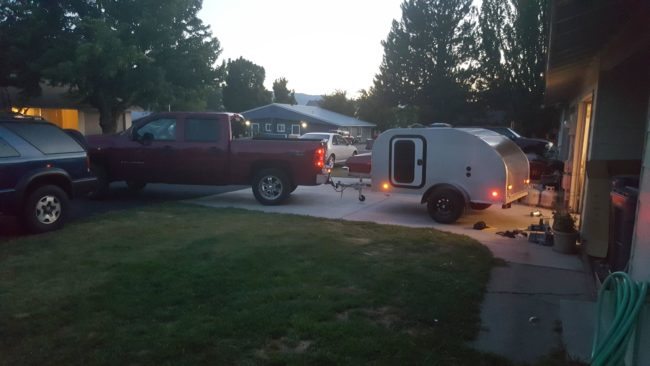
My next road trip won’t be complete without an awesome camper like this. Vacation, here I come!
![]()


Comments